Album Automation
How to Design a 12x36 Wedding Album Layout in Under 10 Minutes Using AI
A 12x36 wedding album spread takes an hour to lay out by hand — or about ten minutes with an AI album generator doing the placement while you direct. This is the minute-by-minute method: choose the photos, set the size, generate the album design sheets, fix the two or three things that matter, and export. Nothing here replaces your judgement; it just moves it to where it counts.
By Smart Photo Selection TeamUpdated 5 min readIn Album Automation
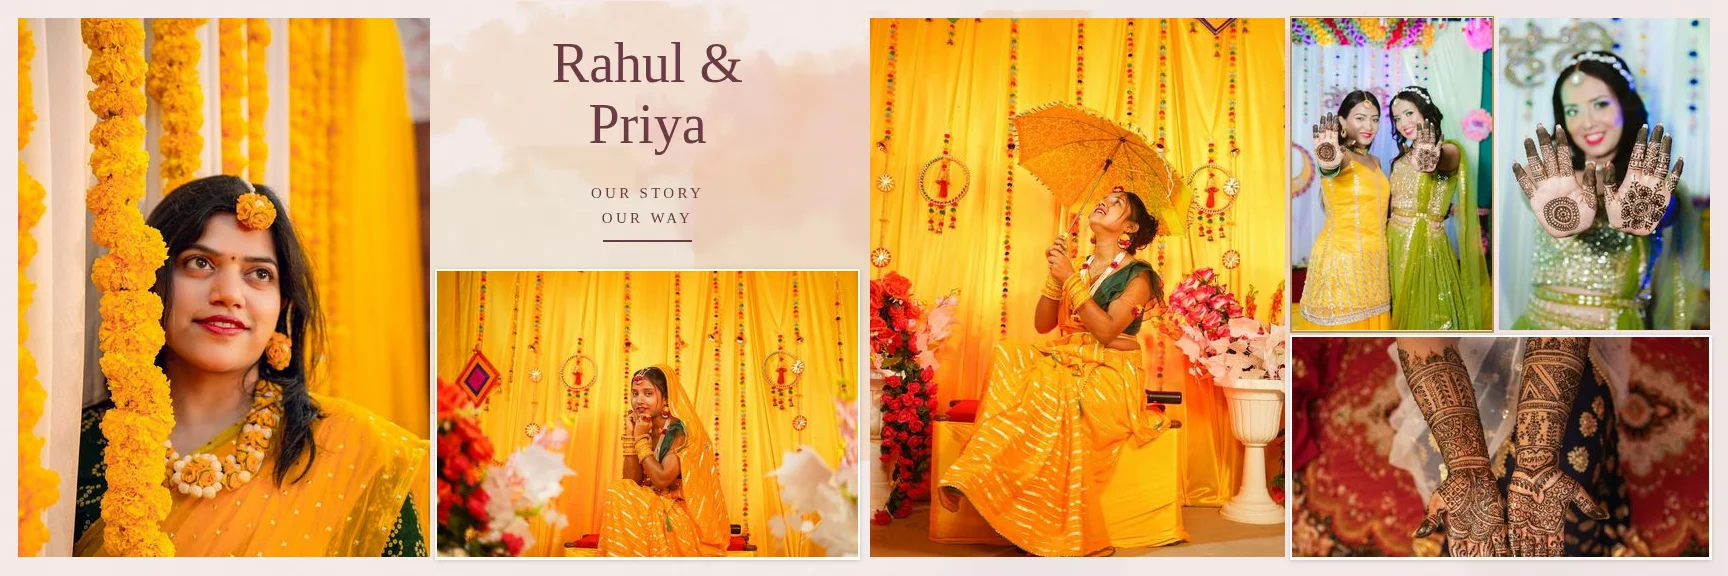
Why a 12x36 spread eats so much time
A 12x36 wedding album is two 12 × 18 in pages joined at a centre fold — a 10,800 × 3,600 px canvas at 300 DPI. Filling it well means choosing a hero photo, sizing five to nine supporting frames around it, keeping every face clear of crops and the fold, and balancing the two pages against each other. Studios typically spend 45–90 minutes per spread doing this manually. The decisions are real, but most of the minutes go to dragging boxes, not making them.
The AI album generator takes over the placement work. It analyses your photos on your device — sharpness, exposure, orientation, near-duplicates, faces — picks a hero, splits the set across the two pages and composes a balanced sheet. Your ten minutes go to choosing, reviewing and refining, which is the part only you can do. For the full background, read AI wedding album design: the complete guide.
Before the clock starts: what you need
- A finished photo selection. Album design goes fastest from an approved set, not the whole shoot. If the couple has chosen favourites in your online gallery, start there.
- One function or chapter. A 12x36 spread holds one story — the pheras, the reception entries, a couple session. Do not mix haldi candids with reception portraits on one sheet.
- 7–12 photos for the spread. Fewer than five looks empty at this size; more than twelve weakens every frame. See how many photos per spread.
- Your lab's specification. Confirm 12 × 36 in (or 12 × 30 / 14 × 40) and 300 DPI before you export — see 12 × 36 vs 14 × 40.
The 10-minute method, minute by minute
- 1
Minutes 0–2: pick the photos
Open the booking gallery, filter to the function folder, and star 7–12 frames with one clear hero — the strongest emotional moment, sharp at print size. The generator reads photos straight from the booking, so there is nothing to re-upload.
- 2
Minutes 2–3: set the size and style
Choose the 12 × 36 in size so the layout is composed natively for the 3 : 1 ratio, and pick automatic design — or one of the 400+ wedding album templates if the studio has a house style.
- 3
Minutes 3–5: generate the album design sheets
Generate the sheet and let the AI place every photo: hero sized largest, supporting frames matched to orientation, backgrounds sampled from the photos' own colours, faces kept out of the fold zone. Generation runs in the browser.
- 4
Minutes 5–8: fix the three things that matter
Review the sheet as a client would. Check the hero choice, the story order across the two pages, and faces near the centre fold. Regenerate the sheet for a genuinely new composition, or open it in the album editor to swap one photo and adjust a crop.
- 5
Minutes 8–10: print-check and export
Turn on the print guides, confirm no resolution warnings and nothing crossing the fold, then export the sheet as JPG, PNG or layered PSD at full size. The print preparation guide lists every check.
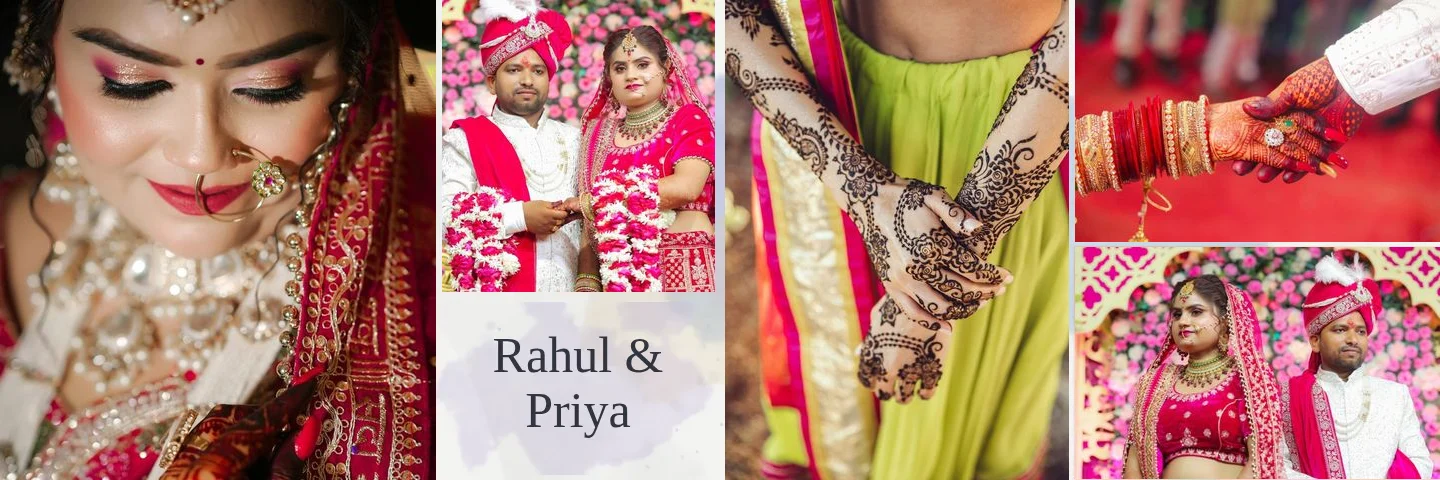
Manual layout vs AI layout: where the hour goes
| Task | By hand | With the AI generator |
|---|---|---|
| Choosing and ordering photos | 10 min | 2 min (same decision, faster tools) |
| Placing and sizing frames | 25 min | 0 min (generated) |
| Fold and crop safety | 10 min | 0 min (enforced automatically) |
| Review and refinement | 15 min | 5 min (your judgement, focused) |
| Print check and export | 10 min | 3 min (guides + one-click export) |
What to check before you call it done
Faces and text clear of the fold
Every spread is split at the centre into two 12 × 18 pages. The composer keeps a fold-safe zone on each side of the centre line, and the editor blocks dragging photos across it — but glance at the fold on every sheet anyway. Keeping faces off the centre fold shows the exact zone.
Resolution at print size
A photo that looks crisp on screen can print soft at 12 inches tall. Heed the resolution flags: anything below 200 ppi at its printed size needs a smaller frame or a different photo. Bleed, safe area and centre fold explains the numbers.
One story per spread
Fast layouts tempt you to fill space with leftovers. If a photo does not belong to the spread's moment, cut it — the album reads better and the next spread gets stronger. Pacing across functions is covered in Indian wedding album design ideas.
When not to use the 10-minute version
- The opener and closer spreads. The first and last sheets set the album's tone; give them a full design pass with a double exposure blend or a favourite template.
- A studio house style. If every album must look unmistakably yours, start from your own PSD templates instead of automatic design.
- Disputed selections. Never design over an unapproved set — one late client change costs more than the hour you saved.
12x36 wedding albumAI album generatoralbum design sheetsalbum automation
Frequently Asked Questions
Can a full 12x36 wedding album really be designed in minutes per spread?
The placement of each spread, yes: generation composes a balanced, fold-safe sheet from your chosen photos in moments. Your review, story order and print checks still take attention — budget ten focused minutes per spread, plus longer for the opener and closer.
Does the AI generator work at the real 12x36 print size?
Yes. Layouts are composed natively for 12 × 36 in (10,800 × 3,600 px at 300 DPI) rather than stretched from another size, and export is full-resolution JPG, PNG or layered PSD.
What if I don't like the generated layout?
Regenerate the sheet for a genuinely different composition from the same photos, or open it in the album editor — every element is a layer you can move, swap, re-crop or recolour.
Do I need the client's selection first?
Strongly recommended. Designing from the whole shoot means redoing spreads when the couple cuts photos. Share the online gallery and design from the submitted set.
Is a 10-minute spread print-ready?
It can be, once it passes the checks: resolution warnings clear, fold zone respected, bleed and safe areas per your lab. Run the print preparation guide before ordering.
Related Articles
- AI Wedding Album Design: The Complete GuideHow AI wedding album design works, what it does well, where you still decide, and a practical workflow from photo selection to print-ready export.
- 12 × 36 vs 14 × 40 Wedding Album: Which Size Should You Offer?12x36 vs 14x40 wedding albums compared: page size, ratio, pixels at 300 DPI, photo resolution needed and which layouts and clients each size suits best.
- How Many Photos per Wedding Album Spread?Choosing how many photos to put on each wedding album spread: density, pacing, hero images, page splits like 3 + 4, and when fewer photos tell more.
Step-by-Step Guides
- How to Design a 12 × 36 Wedding AlbumSet up a 12x36 wedding album at the right DPI, pick templates that suit the 3:1 spread, keep faces off the fold and export 10,800 × 3,600 px sheets.
- How to Create a Wedding Album With AIStep-by-step: pick a booking, run the AI photo selection, choose a size and design style, generate the spreads, then review and export your wedding album.
- How to Prepare a Wedding Album for PrintA print checklist for Smart Photo Selection: resolution and DPI, low-ppi warnings, centre fold, trim and safe area guides, bleed, sRGB colour and what to ask your album lab.
Related Features
Design Your Next Album in Smart Photo Selection
Generate spreads from a booking's photos, refine them in the layer-based editor and export print-ready files.