Smart Photo Selection guide
How to Design a 12 × 36 Wedding Album
Set up a 12x36 wedding album at the right DPI, pick templates that suit the 3:1 spread, keep faces off the fold and export 10,800 × 3,600 px sheets.
By Smart Photo Selection TeamUpdated 6 min read
Short answer
Create the album with the 12 × 36 in spread size at the DPI your lab asks for (300 DPI gives 10,800 × 3,600 px per spread). Keep Double-page spread — folds in the middle on, choose a template or AI design, then check each sheet for photo resolution and the centre fold before you export.
What You Need
- A photographer (studio) account with Album Studio, and a booking whose gallery holds the wedding photos.
- Your lab's specification for 12 × 36 albums: resolution (often 300 DPI), whether they want one file per spread, and their bleed and safe-area rules.
- Full-resolution photos. A photo that fills the full 12 in page height needs about 3,600 px on that side at 300 ppi.
What 12 × 36 means for your design
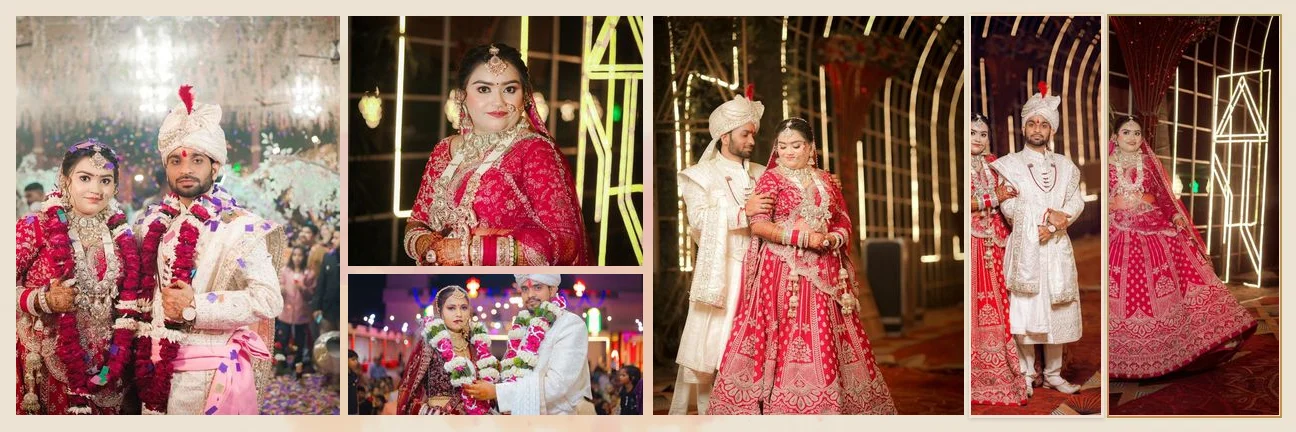
Album sizes are written height × width, and the size is the open spread, not one page. A 12 × 36 in spread is two 12 × 18 in pages side by side, a 3 : 1 ratio. That wide, short shape is why 12 × 36 layouts usually run as rows of photos: a tall hero on one page and two or three columns of supporting frames, rather than one big image across both pages. For more on how the size compares with the larger format, read 12 × 36 vs 14 × 40.
| Resolution | Spread in pixels | One page | Full-height photo needs |
|---|---|---|---|
| 300 DPI | 10,800 × 3,600 px | 5,400 × 3,600 px | 3,600 px tall |
| 240 DPI | 8,640 × 2,880 px | 4,320 × 2,880 px | 2,880 px tall |
| 200 DPI | 7,200 × 2,400 px | 3,600 × 2,400 px | 2,400 px tall |
Pixels are inches × DPI, so the canvas is created at the exact print size. Use what your lab specifies; when in doubt, 300 DPI is the common default and the editor's default resolution.
Step by step: set up a 12 × 36 album
- 1
Create the album
In Album Studio, click
Create albumand type anAlbum name. ChooseCreate with AIif you want the spreads designed for you, orManual album editorto place photos yourself. - 2
Choose the size (manual album)
For a manual album, keep
CanvasonAlbum sizeand pick12 × 36 in spreadfrom the presets. SetResolution (DPI)to your lab's value (default 300) and clickOpen editor. - 3
Choose the size (AI album)
In the AI flow, after
Run AI selection, open the design step and pick the 12 × 36 preset inAlbum size. LeaveDouble-page spread — folds in the middleticked: it tells the layout engine where the binding is. - 4
Pick a design that suits the ratio
Choose
Designed spreadsfor exposure-based compositions, orUse a templateand pick one from the library. Every library template supports 12 × 36 in and is laid out natively for it. With designed spreads,Automatic (varies per sheet)mixes sparse and dense sheets. - 5
Generate and review
Click
Generate album. In the preview, read each sheet as a spread: is the hero on the page you want, do faces sit well away from the middle, and does the album vary from sheet to sheet? UseRegenerateon a sheet that does not work. - 6
Check resolution and the fold
Open a sheet with
Editand turn on View ›Print guides (trim 0.125 in, safe area 0.375 in). Photos that would print below 200 ppi are flagged before export; replace them or make their frame smaller. Photos and text are kept off the fold automatically. - 7
Save and export
Click
Save Sheet, thenExport›Download JPGfor a single spread, or useExport all sheetsin the preview step for the whole album. File names follow the pattern album-name-album-sheet-01.jpg.
Layouts that work well at 12 × 36
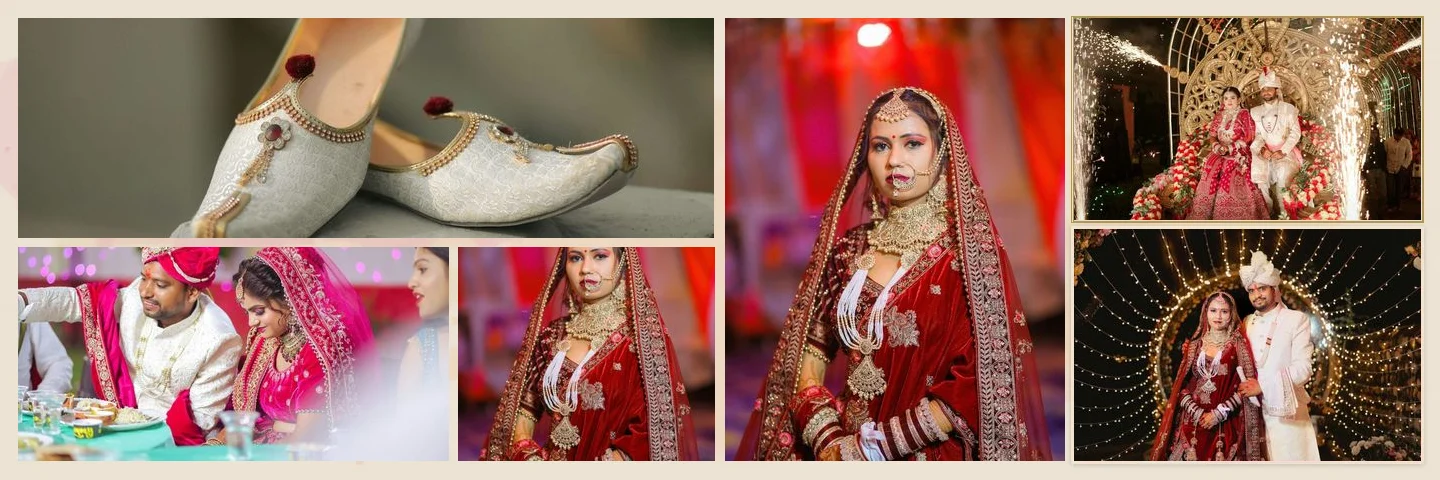
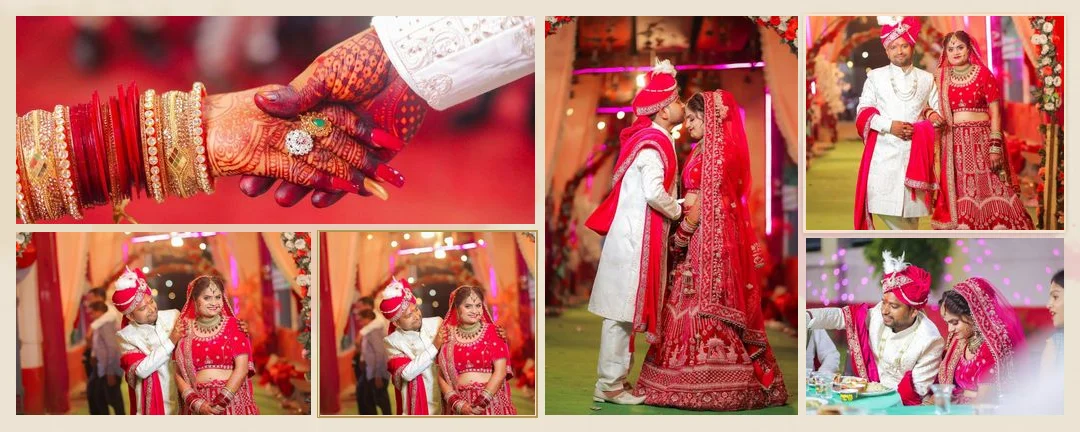
Because each page is 1.5 times as wide as it is tall, a single landscape photo fills a page almost exactly, and a portrait photo at full height leaves room for a column of two or three smaller frames beside it. The library templates hold 5 to 10 photos; at 12 × 36 the 6- to 8-photo templates are a comfortable middle ground, while 9 and 10 photos suit busy events such as the sangeet or reception dance floor. See how many photos per spread for pacing a whole album.
- One hero per spread. Let one image carry the spread; supporting photos should be clearly smaller.
- Portraits on the outer edges. A tall portrait near the outside edge of a page keeps faces far from the binding.
- Landscapes as page fillers. A wide venue or group photo can fill a whole page on its own.
- Leave margins for the lab. Keep faces and text inside the safe area; see preparing an album for print.
Converting between 12 × 36 and other sizes
Library templates are compositions, not fixed pixel layouts, so the same template can be laid out at 14 × 40 in or a custom size such as 12 × 30 in. A finished album, though, is a set of sheet documents at the size you chose. If the client changes size after you have edited the spreads, start a new album at the new size; enlarging a 12 × 36 sheet would change its ratio and crop the design.
Tips
- Ask your lab whether 12 × 36 means the trimmed size or includes bleed, before you create the album.
- Keep the album to one resolution; mixing 300 DPI and 240 DPI sheets in one order can confuse labs.
- Use the 1-inch grid (View ›
Grid (1 in)) to line up text and small frames across the two pages. - Sort photos by
Sequencebefore generating so the story runs in shooting order.
Common Mistakes
Treating 12 × 36 as one page
It is the open spread. Each page is 12 × 18 in, and the binding runs down the middle at 18 in.
Creating the canvas at 72 DPI
The canvas would be 2,592 × 864 px, far too small for print. Set
Resolution (DPI)to your lab's value when you create the album.Stretching a full-bleed photo from a phone or crop
Check the low-resolution warning. A full-page photo at 300 ppi needs about 5,400 × 3,600 px.
Turning off the double-page spread option
Without it the sheet is treated as a single page and nothing is kept off the fold. Leave
Double-page spread — folds in the middleticked for flat-opening albums.
Frequently Asked Questions
What pixel size is a 12 × 36 album spread?
10,800 × 3,600 px at 300 DPI, 8,640 × 2,880 px at 240 DPI and 7,200 × 2,400 px at 200 DPI.
Can I export each page separately?
Exports are one file per spread (sheet). If your lab wants single pages, split the spread at the centre in your own software or ask the lab whether they accept spreads.
How many photos should a 12 × 36 spread have?
Most spreads work with 5 to 8 photos. Use fewer for portraits and more for busy events, and vary the count across the album.
Does the AI know about the binding?
Yes. With the double-page option on, the layout keeps photos and text on one page each, with a 0.125 in gap on each side of the fold.
Related Guides
- How to Design a 14 × 40 Wedding AlbumCreate a 14x40 wedding album in Smart Photo Selection: 12,000 × 4,200 px at 300 DPI, photo resolution checks, layouts that use the extra height, and fold-safe export.
- How to Keep Faces Off the Centre Fold of an AlbumWhy faces disappear into the binding, how Smart Photo Selection keeps photos and text off the centre fold, and how to check and fix spreads before you export them.
- How to Prepare a Wedding Album for PrintA print checklist for Smart Photo Selection: resolution and DPI, low-ppi warnings, centre fold, trim and safe area guides, bleed, sRGB colour and what to ask your album lab.
- How to Create a Wedding Album With AIStep-by-step: pick a booking, run the AI photo selection, choose a size and design style, generate the spreads, then review and export your wedding album.
Related Features
Further Reading
- 12 × 36 vs 14 × 40 Wedding Album: Which Size Should You Offer?12x36 vs 14x40 wedding albums compared: page size, ratio, pixels at 300 DPI, photo resolution needed and which layouts and clients each size suits best.
- Bleed, Safe Area and the Centre Fold in Wedding AlbumsWhat bleed, trim, safe area and the centre fold mean for wedding album spreads, how binding affects the gutter, and how to keep faces and text safe.
- How Many Photos per Wedding Album Spread?Choosing how many photos to put on each wedding album spread: density, pacing, hero images, page splits like 3 + 4, and when fewer photos tell more.
Try It in Smart Photo Selection
Open Album Studio with a photographer account, pick a booking and follow the steps above on your own photos.