Smart Photo Selection guide
How to Create a Wedding Album With AI
Step-by-step: pick a booking, run the AI photo selection, choose a size and design style, generate the spreads, then review and export your wedding album.
By Smart Photo Selection TeamUpdated 6 min read
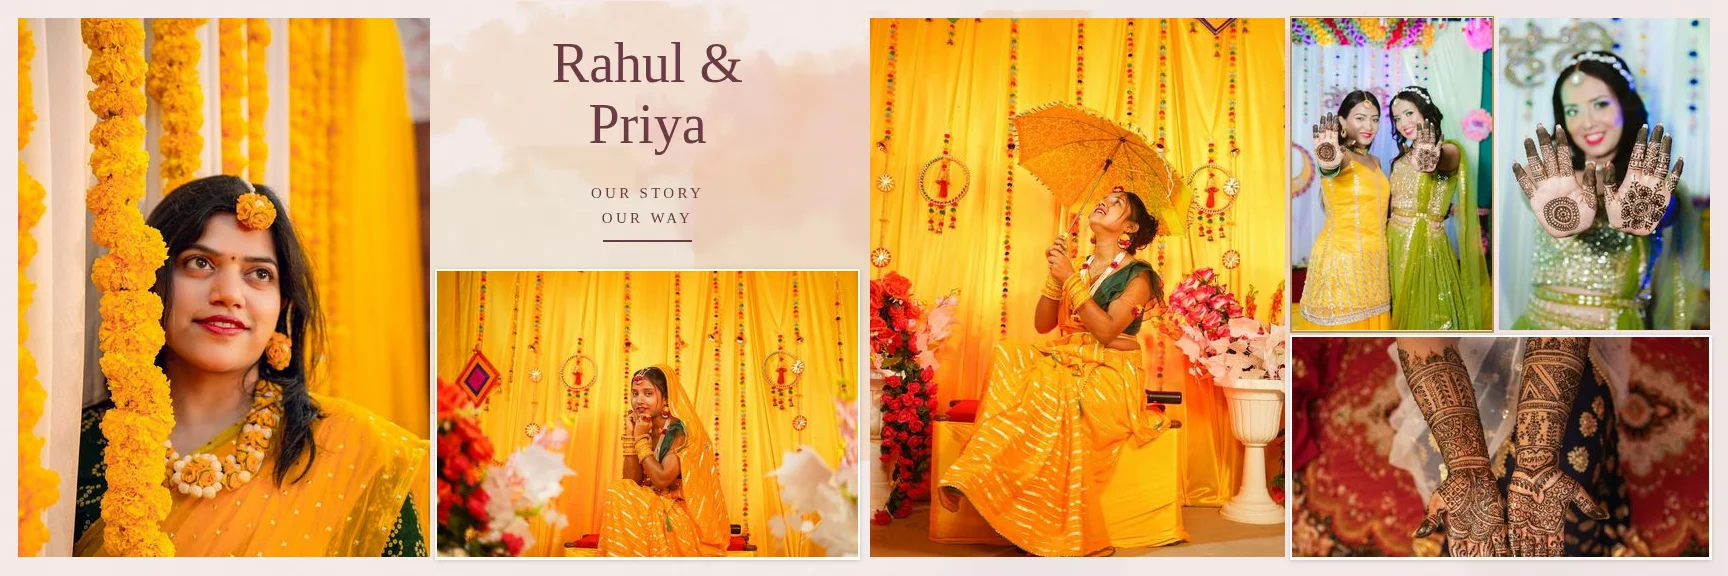
Short answer
In Album Studio, click Create album, choose Create with AI and pick the booking whose photos you want to use. Run the AI selection, choose a size and style, then click Generate album. Review every sheet, fix anything you want in the editor, and export JPG, PNG or a layered PSD.
What You Need
- A photographer (studio) account. Album Studio opens only for photography studio accounts.
- A booking with the wedding photos already uploaded to its gallery. You can also upload extra photos from your computer for this album only.
- A desktop or laptop browser. The editor needs a screen at least 1024 px wide.
- The album size your lab prints, for example 12 × 36 in or 14 × 40 in, and the resolution it expects (300 DPI is the common default).
What the AI does, and what it leaves to you
The AI flow does two jobs. First it narrows a large shoot down to an album-sized selection, scoring photos for sharpness, exposure, faces and near-duplicates. Then it designs each sheet. It picks a hero photo, sizes the supporting photos around it, adds masks and soft fades, and takes the background colours from your own photos. It does not repaint, retouch or invent anything in your photographs. Every sheet it produces is an ordinary editable document, so you keep the final say.
Step by step: from booking to finished spreads
- 1
Start a new AI album
Open Album Studio and click
Create album. Type anAlbum name(for example Wedding — Rahul & Priya), choose theCreate with AIcard and clickContinue with AI. - 2
Choose the booking and photos
Under Choose the booking whose gallery this album uses, search for the booking and open it. Select photos folder by folder, or use
Select entire galleryif you want the AI to consider the whole shoot. Photos from your computer can be added withUpload for This Album. Then click theNextbutton in the bottom bar. - 3
Run the AI selection
Set
Photos in the album(the default is 40) and clickRun AI selection. Go through the result: move photosEarlierorLater,ReplaceorRemovethem, and look at the Not chosen list for frames you want back. ClickAdd More Photosif something is missing, orRe-run AI selectionafter a big change. - 4
Pick the design
Under layout, choose
Automatic design, orUse a templateto fill one of the 400+ library templates. Under style, chooseDesigned spreadsfor layered, exposure-based compositions, orSimple clean layoutfor plain rows. - 5
Set the album size
In
Album size, pick your lab's spread size, orCustom size…and enterWidth (in),Height (in)andDPI. For a book that opens flat across two pages, keepDouble-page spread — folds in the middleticked. - 6
Decide how many photos go on a sheet
With designed spreads, leave
Automatic (varies per sheet)on to vary the density from sheet to sheet, or chooseExactly N — all on one sheetfor a fixed count. Add aTitle on the first sheetand tickAdd typography (titles and captions)if you want text in the design. - 7
Generate and review
Click
Generate album. In Preview & export, check each sheet. Use a sheet'sRegenerateto get a new composition for that sheet only (available withAutomatic design+Professional templatesorDesigned spreads), or the topGenerate more sheetsto design additional sheets after the existing ones. UseEditorOpen in Editorto change a sheet by hand. - 8
Export
Use
Exporton a single sheet, or the Export all sheets card for the whole album. TickJPG,PNGand/orLayered PSD, keepQuality 95 (recommended)for JPG, and clickGenerate N sheets. When it finishes, download the files one by one or withDownload all.
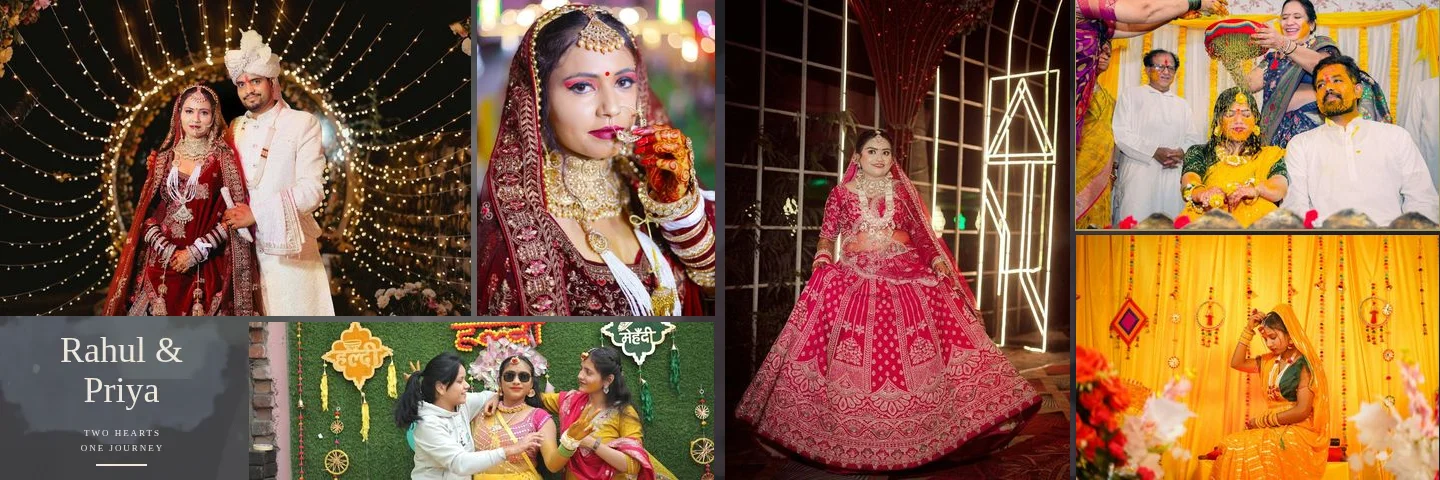
Choosing between automatic design and a template
Automatic design composes every sheet from scratch. Consecutive sheets never repeat the same arrangement, and each sheet can be regenerated until you like it. Use a template fills a library template instead, so every album built from it has the same visual language. That suits studios with a house style, or a couple who chose a design in advance. If you design with your own PSD files, use PSD album automation instead of the AI flow.
| Option | Best for | What changes when you regenerate |
|---|---|---|
Automatic design + Designed spreads | Varied, magazine-style albums with exposures and layered frames | A new composition per sheet or per album |
Automatic design + Simple clean layout | Plain photo books, proof albums, quick previews | The row arrangement |
Use a template | A consistent look matching a chosen template category | Which photos fill which slot |
How to judge a generated album
Read the album the way the couple will: sheet by sheet, left page then right page. Check that the story runs in order (getting ready, ceremony, portraits, reception) and that each sheet has one clear hero. Look for faces close to the frame edges and for any photo that appears too small for its importance. The generator keeps faces away from the centre fold and never lets photos or text cross it, but you should still check that no important detail sits right at the gutter. The centre fold guide explains what to look for.
Tips
- Cull before you start. A tighter selection in photo selection gives the AI better material than the entire raw shoot.
- Set
Photos in the albumto roughly the number of sheets times the average photos per sheet you want. A 20-sheet album at about seven per sheet needs about 140 photos. - Regenerate single sheets instead of the whole album once most sheets look right, so you don't lose spreads you like.
- Pick the size before you generate. Layouts are composed natively for each ratio, so changing size afterwards means generating again.
Common Mistakes
Treating the generated album as print-ready
Use it as a strong first draft. Review every sheet, look at the print-resolution warnings, and follow preparing an album for print before ordering.
Choosing the wrong spread setting
For lay-flat or flush-mount books that open across two pages, keep
Double-page spread — folds in the middleticked so the fold rules apply.Feeding the AI near-identical bursts
The selection removes near-duplicates, but cutting obvious bursts first leaves room for more variety in moments and people.
Working across two computers
Projects stay in the browser where they were created. Export the files you need before switching devices.
Frequently Asked Questions
Does the AI edit or change my photos?
No. It selects, crops (keeping the aspect ratio), masks and arranges your photos. Colour or retouching changes are only applied when you add them in the photo editor.
Can I use one of the 400+ templates with the AI?
Yes. Choose Use a template in the design step, or open a template from the library with AI Editor. The AI then fills that template's slots from your selection.
How many photos will each sheet have?
With Automatic (varies per sheet) the generator varies the density. With Exactly N — all on one sheet every sheet gets that number, from 1 to 12.
Which export formats are available?
JPG, PNG and a genuinely layered PSD, rendered at the album's full pixel size from the original photos. See exporting JPG, PNG and PSD.
Related Guides
- How to Design a 12 × 36 Wedding AlbumSet up a 12x36 wedding album at the right DPI, pick templates that suit the 3:1 spread, keep faces off the fold and export 10,800 × 3,600 px sheets.
- How to Edit an AI-Generated Album DesignRefine AI-generated wedding album spreads: regenerate a sheet, change photos and crops, resize frames, edit text and exposure layers, and keep it all off the fold.
- How to Keep Faces Off the Centre Fold of an AlbumWhy faces disappear into the binding, how Smart Photo Selection keeps photos and text off the centre fold, and how to check and fix spreads before you export them.
- How to Export a Wedding Album as JPG, PNG or Layered PSDExport one album sheet or the whole album from Smart Photo Selection as full-resolution JPG, PNG or a verified layered PSD, and download everything as a ZIP for your lab.
Related Features
Further Reading
- AI Wedding Album Design: The Complete GuideHow AI wedding album design works, what it does well, where you still decide, and a practical workflow from photo selection to print-ready export.
- How Many Photos per Wedding Album Spread?Choosing how many photos to put on each wedding album spread: density, pacing, hero images, page splits like 3 + 4, and when fewer photos tell more.
- A Wedding Album Delivery Workflow for PhotographersA practical album workflow for wedding photographers: client photo selection, design, review rounds, revisions, lab checks, printing and final delivery.
Try It in Smart Photo Selection
Open Album Studio with a photographer account, pick a booking and follow the steps above on your own photos.