About Smart Photo Selection
About Smart Photo Selection: The Complete Photography Workflow Platform
Smart Photo Selection is a complete photography workflow platform that helps photographers manage photos, select the best images, find people across large galleries, automate wedding album creation, use professional templates, edit album sheets, and prepare high-resolution files for delivery and printing.
One booking runs the whole chain: Photos → Selection → Face Scan → Culling → Gallery → Album Automation → Templates → AI Album Design → Manual Editing → High-Resolution Export. Every section below covers one link in that chain and what you control in it.
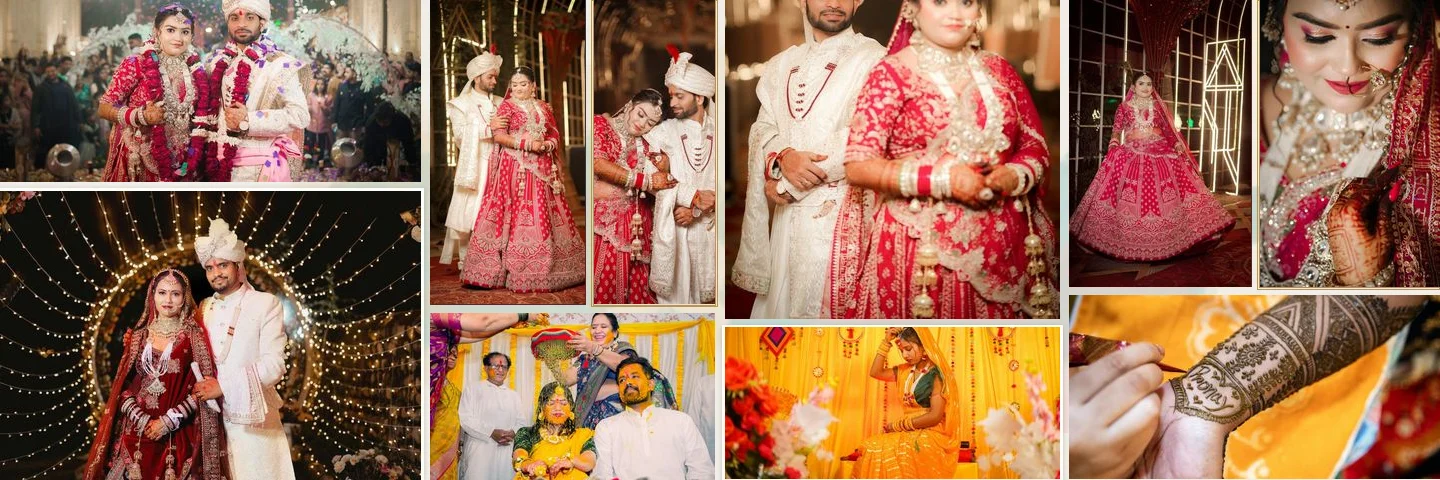
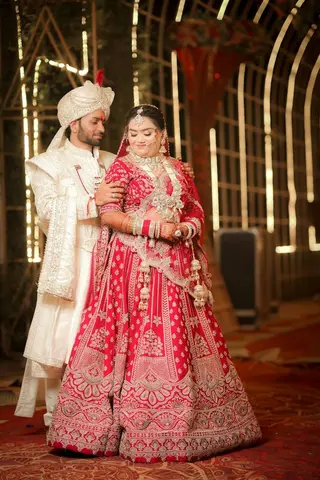
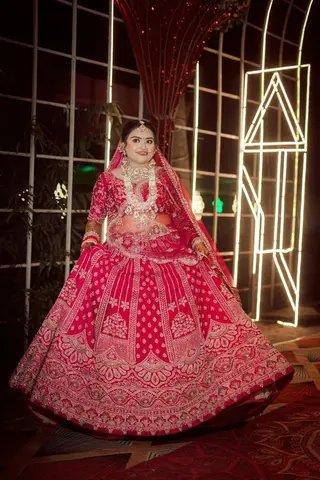
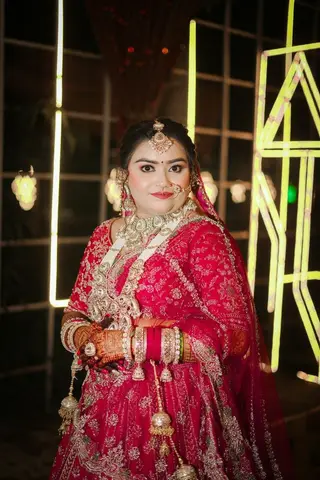
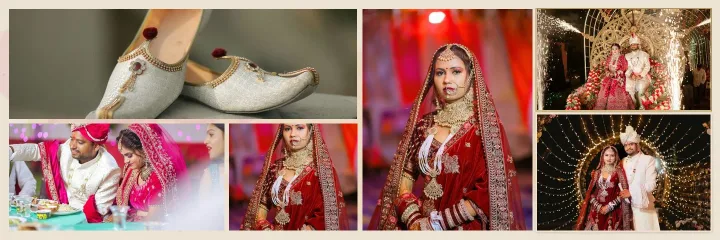
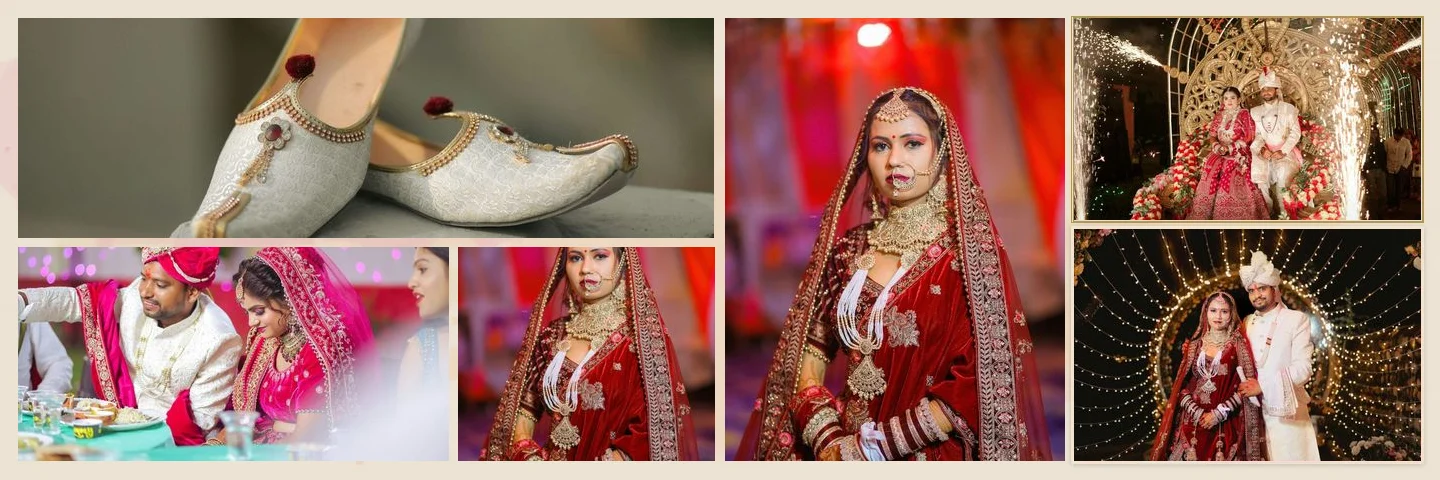
Sample layouts are shown with licensed sample wedding photos; your own photos take their place.
What Is Smart Photo Selection?
Smart Photo Selection covers everything between the shoot and the printed album: the photos themselves, how they are chosen, how guests find them, how the album is designed, how it is edited, and the files that go to the lab. It is built for wedding and event photographers, photography studios and album designers who work from their own shoots. See who uses Smart Photo Selection.
Manage photos
Each shoot is one booking. Bulk upload into folders per function, with progress in the background.
Select the best images
AI photo selection, culling and client photo selection down to the agreed set.
Find people in the gallery
Guests scan their face and get the photos they appear in. Face Scan
Share and deliver
One gallery link or QR code for selection, guest face scan and ZIP delivery.
Design the album
AI album generator, system templates and PSD album automation.
Edit and export
A layer-based album editor that exports high-resolution files for print.
The chain end to end is on How Smart Photo Selection works and in the photography workflow pages.
Photos → Selection
Photo Selection and AI Photo Selection
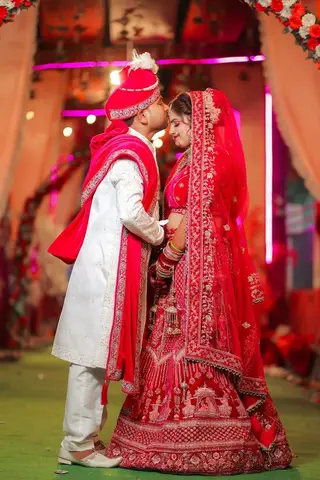
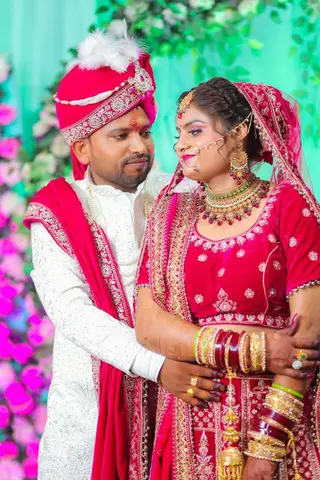
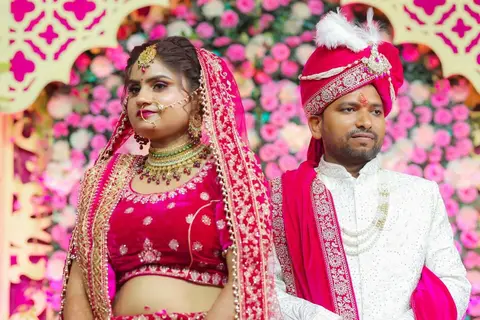
A wedding or event shoot arrives as thousands of frames and has to leave as the few hundred a client will actually use. Photo selection is that filter: Smart Photo Selection scores the shoot, you keep or reject frames, and the client confirms the photos they want before anything is edited or printed.
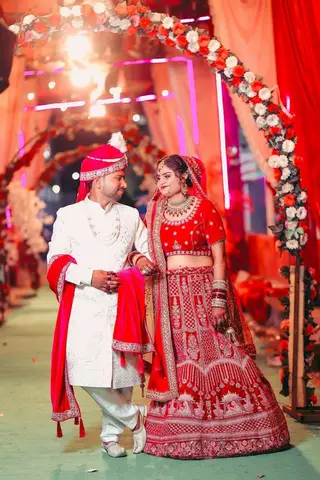
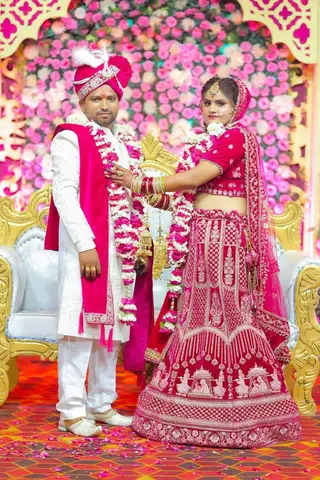
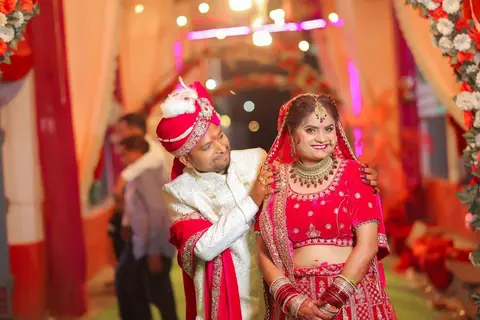
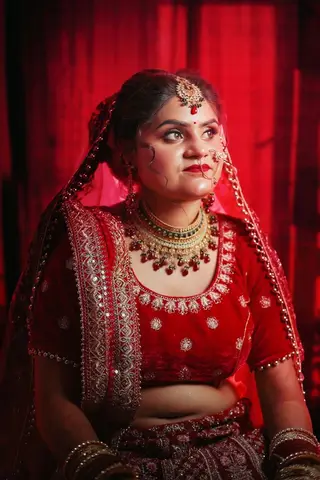
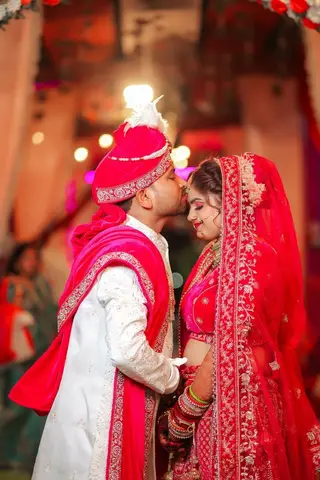
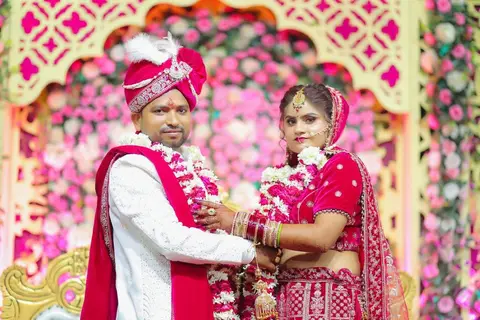
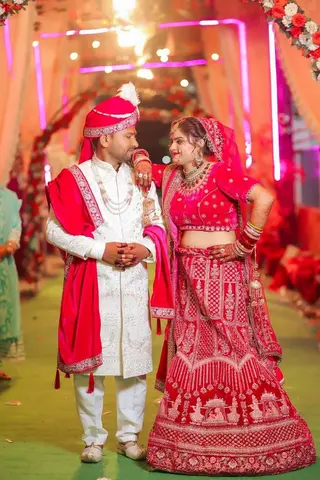
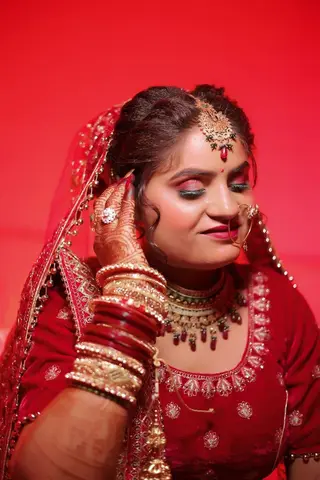
- 01
Upload the shoot
Full-resolution photos go into the booking, one folder per function. Bulk photo upload
- 02
Run AI photo selection
Sharpness, exposure, faces and near-duplicates are scored so weak and repeated frames are obvious first.
- 03
Adjust the set
Add or remove photos yourself — the AI suggests a shortlist, you decide what moves on.
- 04
Hand it forward
The confirmed set stays on the booking: it feeds the gallery and later the album.
Face Scan
Finding People Across Large Galleries
Suppose a wedding has 3,000 photos — no guest will scroll them all. Face Scan lets a guest open the event link or QR code, scan their face with their phone's camera in the browser, and get back the photos they appear in. Smart Photo Selection matches that scan against the event's gallery, so the right images are found across the whole shoot without anyone sorting them by hand.
REFERENCE PHOTO
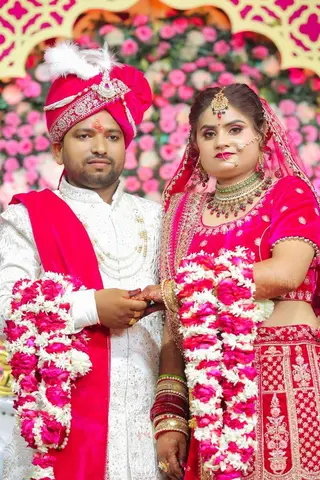
Face: Bride
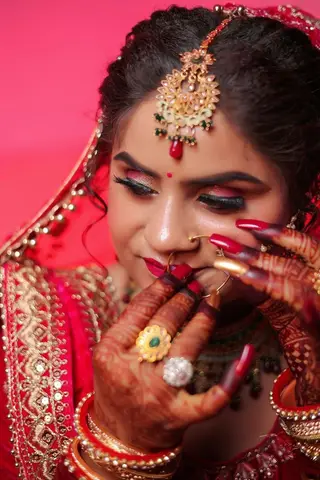
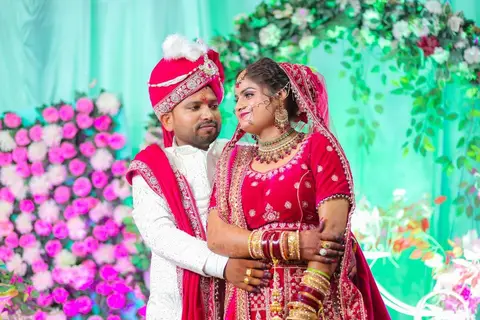
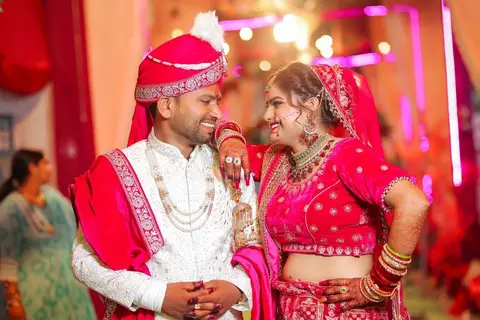
Face found in gallery
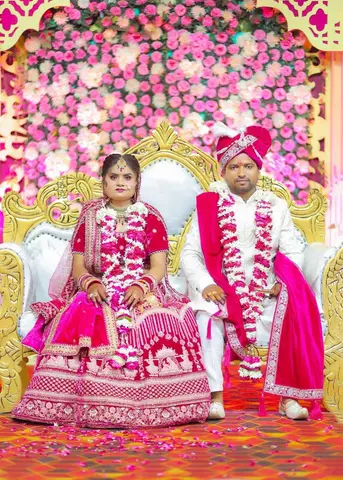
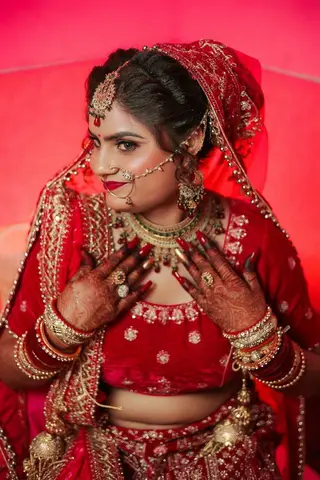
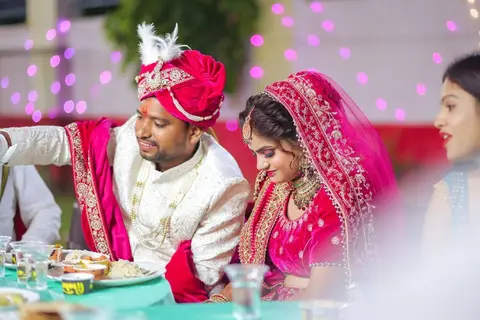
- 01
Share the link or QR
Every booking has its own scan link and QR code — send it on WhatsApp, show it on screen or print it at the venue.
- 02
Guest scans their face
Face recognition runs in the guest's browser; no app and no guest account. How Face Scan works
- 03
Matches appear
The scan is matched against the photos uploaded for that event only.
- 04
Guest views and shares
Matched photos open on a results page the guest can return to and share.
Face Scan runs on photographer premium plans and searches the photos you already uploaded — there is no second upload.
Selection → Culling
Photo Culling
Culling is the first pass over the raw shoot: out go missed focus, blink shots, test frames and repeats, before anything reaches the client. AI-assisted culling sets the blurry and duplicate frames aside; you preview the rest full size and delete what should never go out.
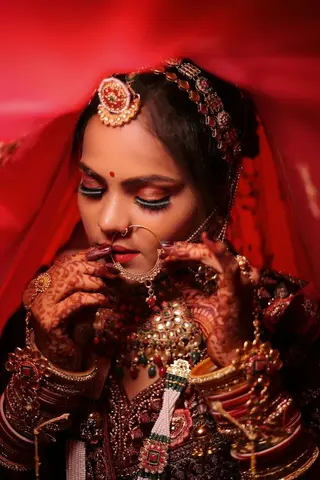
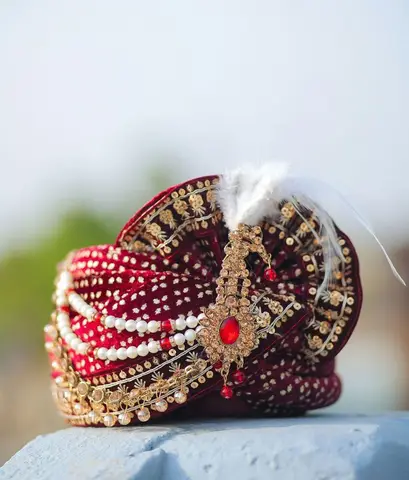
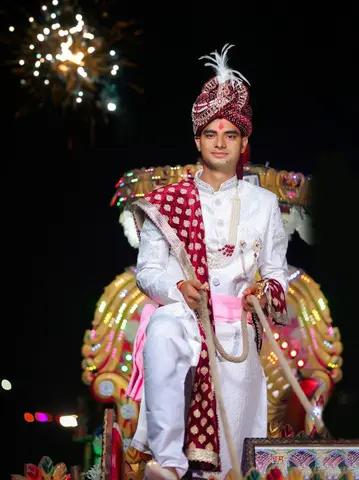
AI-assisted first pass
Blurry and duplicate frames are set aside so you review the borderline shots last.
Preview at full size
Check sharpness and expression at full resolution before a frame is removed.
Cull folder by folder
Haldi, ceremony, reception — each function stays its own folder with its own photo count.
Nothing disappears on its own
Photos are removed only when you delete them, and culled frames never appear in the client's view.
Culling and photo selection happen in the same gallery, so there is no export between the two.
Culling → Gallery → Client
Client Photo Selection
Proofing happens in the client's gallery. Every photo shows its status, the client marks the ones they want, filters to check the chosen set, and submits. Submission locks the selection, so the agreed set cannot change by accident afterwards.
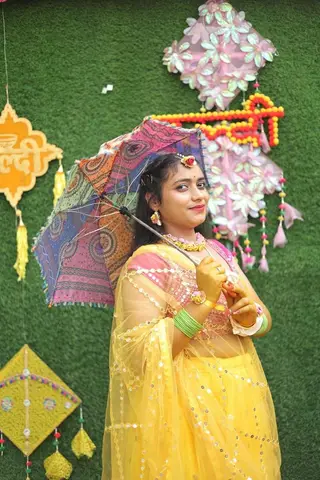
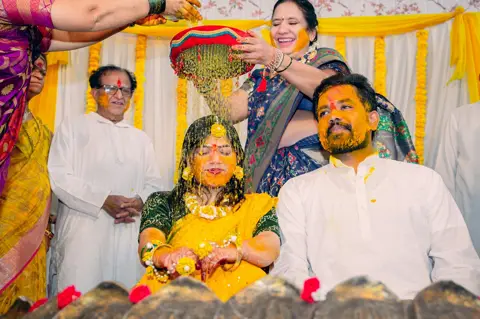
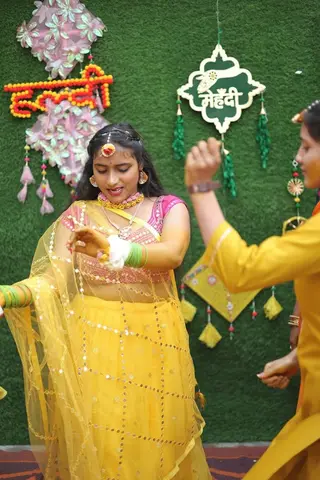
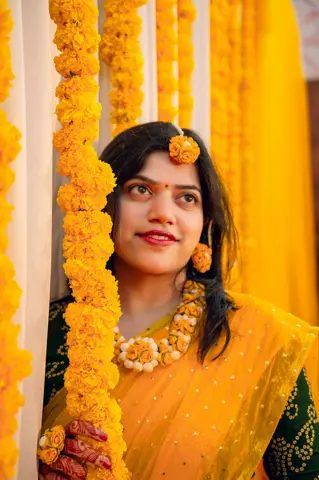
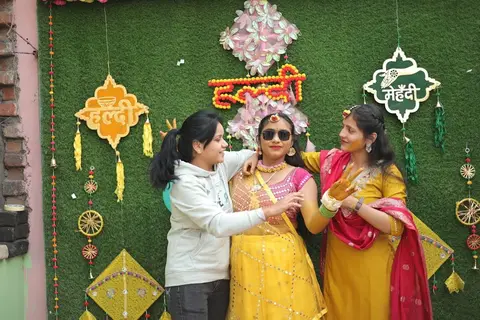
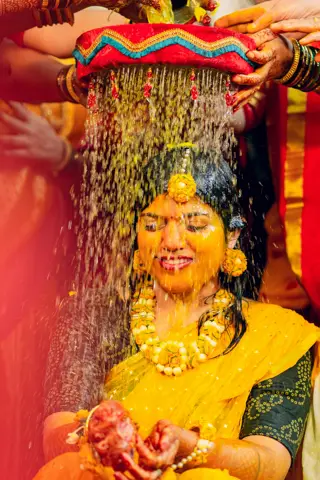
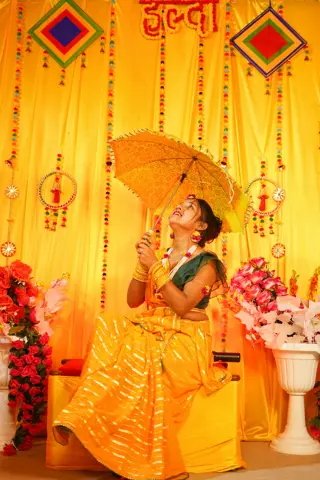
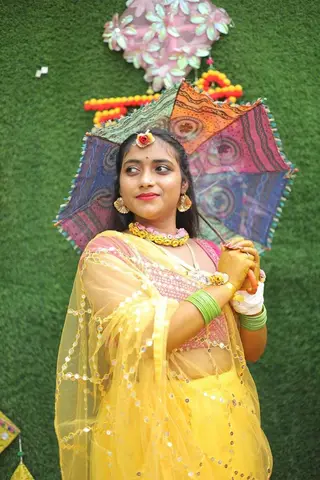
Selected / Not selected on every photo
Each frame carries its status, with filters for just the selected or just the rejected photos.
Select All and Unselect All per view
Handy when the client works through the gallery folder by folder.
Submission locks the set
After submitting, photos can no longer be selected, uploaded or deleted by mistake.
Downloads in your control
Turn client downloads on or off per booking; the selected photos download together as a ZIP.
A clear photo period
Each booking shows the date its photos are deleted, and you can extend that period.
Gallery → Delivery
Photo Gallery & Delivery
Every booking gets one online gallery with its own link and QR code. The client selects and downloads from it, guests run a Face Scan from it, and your studio name, Instagram link and phone number sit at the top of the page for everyone who opens it — no separate sharing tool.
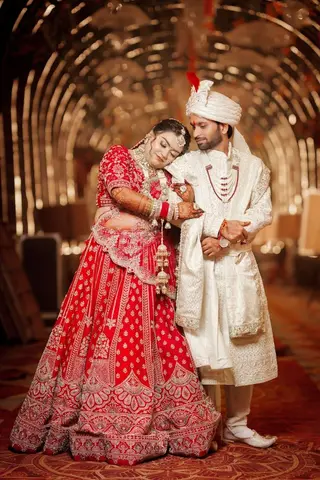
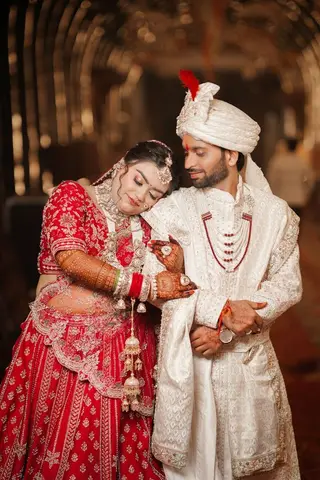
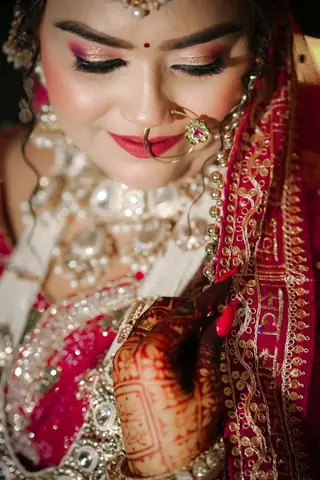
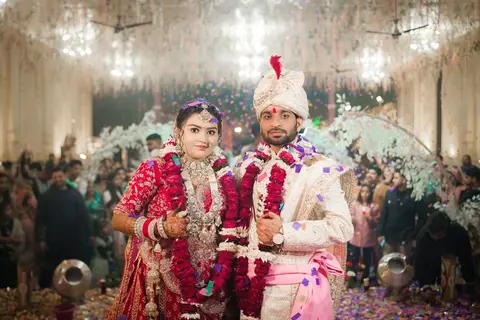
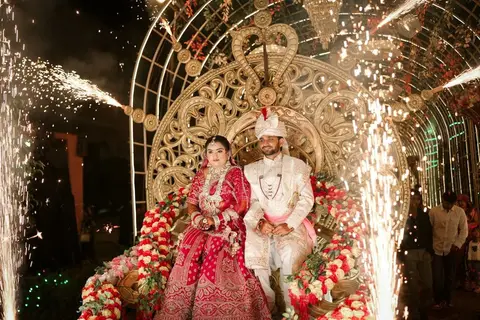
Readable gallery links
Gallery addresses use your studio name followed by the booking ID.
Share the link or the QR code
Open the QR code from the gallery and download it to print at the venue.
Selection built in
Client selection and proofing happen in the same page. Gallery and delivery details
Guest Face Scan
The same link opens the face scan photo finder for guests.
ZIP delivery
Download every selected photo together as a ZIP, ready for editing or delivery.
Gallery → Album Automation
AI Album Generator and Album Automation
With the set confirmed, two paths turn photos into album sheets. The AI album generator composes each sheet around a hero photo, with supporting frames, masks and background colours taken from your own photos. Album automation works the other way round: it maps your photos into the slots of a design you already trust.
1 · Selected photos
2 · Template applied
3 · AI composition

4 · Generated sheet
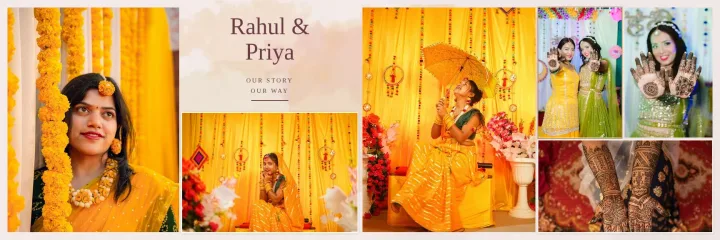
Finished album sheet — ready to review, edit and export
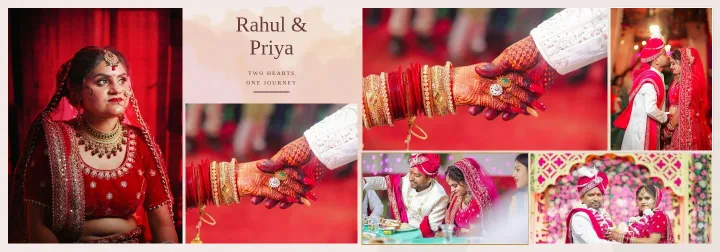
12 × 36 in · 300 DPI · JPG / PNG / layered PSD
- 01
Choose the photos
From the booking's folders, or uploaded for this album only.
- 02
Set the size and the design
12 × 36 in, 14 × 40 in or a custom size; let AI compose, fill a system template, or use your own PSD.
- 03
Generate the sheets
Suppose you selected 8 photos and the template holds 8: automation maps them into the slots and generates a complete album sheet.
- 04
Review sheet by sheet
Check each result, fix anything, and regenerate a sheet or the whole album for another variation.
- 05
Continue in the editor
Every generated sheet opens as a document in the album editor.
Templates
Wedding Album Templates
150 system templates ship with Smart Photo Selection, each holding 5 to 10 photo slots, in styles from light and floral to dark and cinematic. Pick a design, choose the album size, and fill the slots with AI or by hand.
Album sizes
Laid out for 12 × 36 in and 14 × 40 in spreads, and for custom sizes such as 12 × 30 in. 12 × 36 designs · 14 × 40 designs
Photo counts
The library has 5 with 5 photos, 30 with 6 photos, 45 with 7 photos, 45 with 8 photos, 15 with 9 photos, 10 with 10 photos. Filter by photo count when you already know how many photos a sheet holds.
Re-laid out for each size
Margins stay in inches and slots are rearranged for each ratio instead of being stretched.
Orientation-aware
Portrait photos go to tall slots and landscapes to wide ones; crops keep the frame's ratio.
Everything becomes a layer
Frames, text and shapes from a template can be moved, resized or removed like any other layer.
Browse the library
Your own designs
Custom PSD Templates and Template Analysis
Designs you have already paid for are not left out. Upload a PSD and Smart Photo Selection analyses it — layers, masks, clipping and smart objects are read in a background worker — then you confirm the photo slots once and the template is saved for every album after that.
- 01
Prepare the PSD
RGB, 8 bits per channel, one clipping-mask shape or smart object per photo position.
- 02
Upload and analyse
Layers, masks, clipping and smart objects are read in a background worker on your machine.
- 03
Confirm the slots
Check what was found, draw any missing slot, renumber the order — the result is saved with the template.
- 04
Reuse it
A verified template is used again without being re-analysed. Full requirements on the PSD templates page.
Slot detection
Photo Slot Detection and Automatic Photo Mapping
Detection scores every layer on the evidence that it holds a photo, and mapping then fills those slots in shooting order. Both are suggestions you confirm: nothing is generated until you have seen the slots and the order.
- Slot 01exposure
- Slot 02exposure
- Slot 03hero
- Slot 04supporting
- Slot 05supporting
- Slot 06supporting
Confirm slots & reuse
Photos map in shooting order (DSC_5401 → …)
PREVIEW WITH DETECTED SLOTS
 010203040506
Clipping masks
A shape with image layers clipped to it is the strongest signal that a slot holds a photo.
Smart objects
Raster smart objects count as likely photo placeholders.
Placeholder shapes and names
Flat shapes in a frame position, and layer names such as photo or image, add weight; background, frame or logo reduce it.
Confidence you can override
High and medium slots are enabled, medium is marked “please check”, and you can confirm, exclude, redraw or renumber any of them.
Automatic photo mapping
Photos fill slot 01, 02 … on sheet 1 in the order read from file names such as DSC_5401.jpg, then continue on the next sheets.
Never twice, never stretched
No photo is placed in two slots, extra photos continue on new sheets, and crops always keep the slot's ratio.
The full pipeline is described on album automation.
Manual editing
The Professional Album Editor
Every generated sheet, system template and PSD layout opens in the same layer-based editor. It is Photoshop-style by design — frames, layers, masks, selections, retouching and colour tools — but it runs in the browser and works directly with the booking's photos, with the sheet preview always showing what will be printed.
Photo frames
Drag photos from the Photos panel onto the sheet or into a frame, then pan and zoom inside the crop.
Layers and masks
Rename, lock, reorder and duplicate layers; layer and clipping masks; 16 blend modes; text and shapes.
Retouching
Spot healing, healing brush, clone stamp, dodge and burn, blur and sharpen, with brush presets.
Colour correction
Curves, levels, HSL, colour balance and gradient maps — also as adjustment layers that affect everything below.
Sheet preview for print
Inches rulers, a 1-inch grid, snapping and trim and safe-area guides, with photos and text kept off the centre fold.
History and autosave
Up to 100 undo steps per sheet with a History panel, and changes saved as you work.
Tool lists live on the album editor page and the professional photo editor.
Manual Editing → High-Resolution Export
High-Resolution Export
Exports render from the original photos, not previews, at the album's full pixel size — a 12 × 36 in spread at 300 DPI is 10,800 × 3,600 px and a 14 × 40 in spread is 12,000 × 4,200 px.
JPG, PNG or layered PSD
One sheet at a time or the whole album as a ZIP; the layered PSD keeps your template's groups, masks and effects.
Resolution warnings
The effective ppi of each photo in its slot is calculated before generation, and anything below 200 ppi is flagged.
Fold-safe layouts
A 0.125 in safe zone either side of the fold keeps faces and text out of the binding, and export is blocked if anything still crosses it.
DPI and colour
JPG and PNG embed the album's DPI; JPG embeds the template's ICC profile when the PSD has one, otherwise files are sRGB. There is no CMYK export.
Print guides
Trim (0.125 in) and safe-area (0.375 in) guides are shown in the editor while you work.
Check your lab's bleed and file requirements first — start from the guides.
The Complete Photographer Workflow
End to end, one shoot moves through Smart Photo Selection without exporting between tools at every stage. The same chain works for weddings, receptions, parties and corporate events.
- 01
Upload
Bring the shoot into the booking, folder by folder. Bulk photo upload
- 02
Cull and select
AI photo selection and culling first, then client photo selection and submission.
- 03
Share and deliver
One gallery link or QR code: the client downloads the selected set, guests use the face scan.
- 04
Design the album
Generate with the AI album generator, fill a system template, or map photos into your own PSD with album automation.
- 05
Edit and export
Refine each sheet in the editor and export full-resolution files for print and delivery.
See the photography workflow page for the step-by-step version, or how it works for album design in detail.
FAQ
Common Questions
What is Smart Photo Selection?
Who is Smart Photo Selection for?
Does Smart Photo Selection replace my editor or Photoshop?
Where do my photos and album projects live?
How does album automation fit with manual editing?
Do I need my own templates?
- Photo SelectionCull the shoot and let the client choose before you design.
- Face ScanGuests scan their face in the browser and get the event photos they appear in.
- Photo Gallery & DeliveryOne gallery link or QR code for client selection, guest face scan and delivery.
- AI Album GeneratorDesigned wedding album spreads built from your selected photos.
- Album Design BlogFold, bleed, photo counts, sizes, retouching and colour.
- Smart Photo Selection GuidesStep-by-step how-tos with the real button and menu names.
Run Your Next Shoot on Smart Photo Selection
Create a photographer account, upload the shoot, and take it from selection to a print-ready album in one place.