Smart Photo Selection guide
How to Keep Faces Off the Centre Fold of an Album
Why faces disappear into the binding, how Smart Photo Selection keeps photos and text off the centre fold, and how to check and fix spreads before you export them.
By Smart Photo Selection TeamUpdated 5 min read
Short answer
On a double-page spread, Smart Photo Selection keeps every photo and text layer on one page, at least 0.125 in from the centre line. If you drag something across the fold, it is moved onto the left or right page, and export is blocked until nothing crosses it. Your job is to keep important faces well away from the inner edge of each page, not just off the line itself.
What You Need
- An album created as a double-page spread (the
Double-page spread — folds in the middleoption, or any spread preset). - Your lab's binding type. Lay-flat books lose very little at the fold; traditional bindings can hide more of the inner edge.
Why the fold matters
Where the two pages of a spread meet, the paper bends into the binding. Even on lay-flat albums a thin strip at the centre is distorted by the hinge; on bindings that do not open flat, more of the inner edge curves away from the viewer. A face that sits across or close to the centre line can look pinched, split or simply lost. The concepts are explained in more depth in bleed, safe area and the centre fold.
What Smart Photo Selection does automatically
- Layouts never cross the fold. AI designs and library templates place every photo on one page. Candidate layouts are scored with faces visible and off the fold.
- A 0.125 in safe zone on each side. At 300 DPI that is about 38 px on each side of the centre, 75 px in total.
- Dragging is corrected. If you move a photo or text layer across the fold in the editor, it is moved and, if needed, shrunk onto one page, and you see the message
Photos and text can't cross the centre fold — moved onto the left/right page. - Export is blocked if anything still crosses. A sheet with a crossing layer shows
Fix the layout before exporting:with the layer's name and anOpen in editorbutton. - Face-aware crops. Detected faces are kept inside the crop and away from frame edges.
Step by step: check and fix the fold on a spread
- 1
Open the sheet in the editor
From the album preview, click
Editon the sheet, orOpen in Editor. The dashed line marked FOLD in the middle of the canvas is the centre of the spread. - 2
Turn on the guides
Make sure View ›
Guidesis on, and turn on View ›Print guides (trim 0.125 in, safe area 0.375 in)to see the outer safe area at the same time. - 3
Look at faces near the inner edges
Zoom in (View ›
Zoom in, Ctrl+=) on the frames closest to the centre. A face can be on the correct page and still sit uncomfortably close to the binding. - 4
Pan the photo inside its frame
Select the frame and use the
Crop photo in frametool (C) orAdjust Cropto move the face away from the fold side of the frame. The frame stays where it is; only the photo moves inside it. - 5
Move or swap frames if needed
With
Move / select(V), drag a frame further from the centre. To put a different photo in the inner frame, select it and clickChange Photo, then pick a detail or background photo that tolerates the binding better. - 6
Re-check text
Titles and captions follow the same rule. Keep them inside one page and away from both the fold and the outer safe area.
- 7
Save and export
Click
Save Sheet. If export showsFix the layout before exporting:, clickOpen in editor, move the named layer onto one page and try again.
Choosing what goes next to the fold
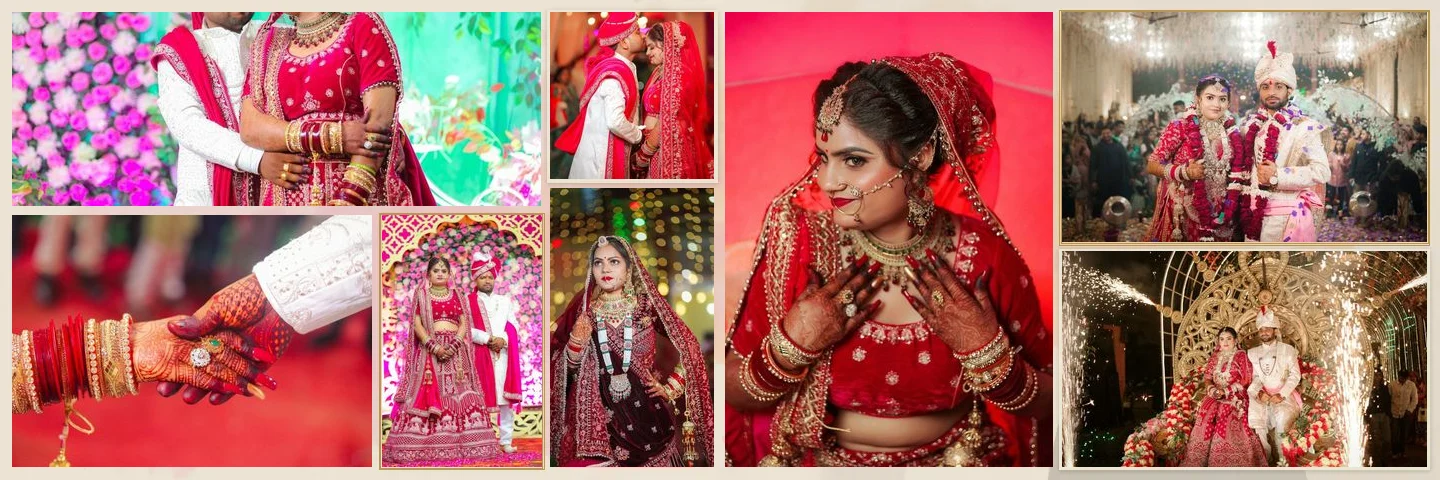
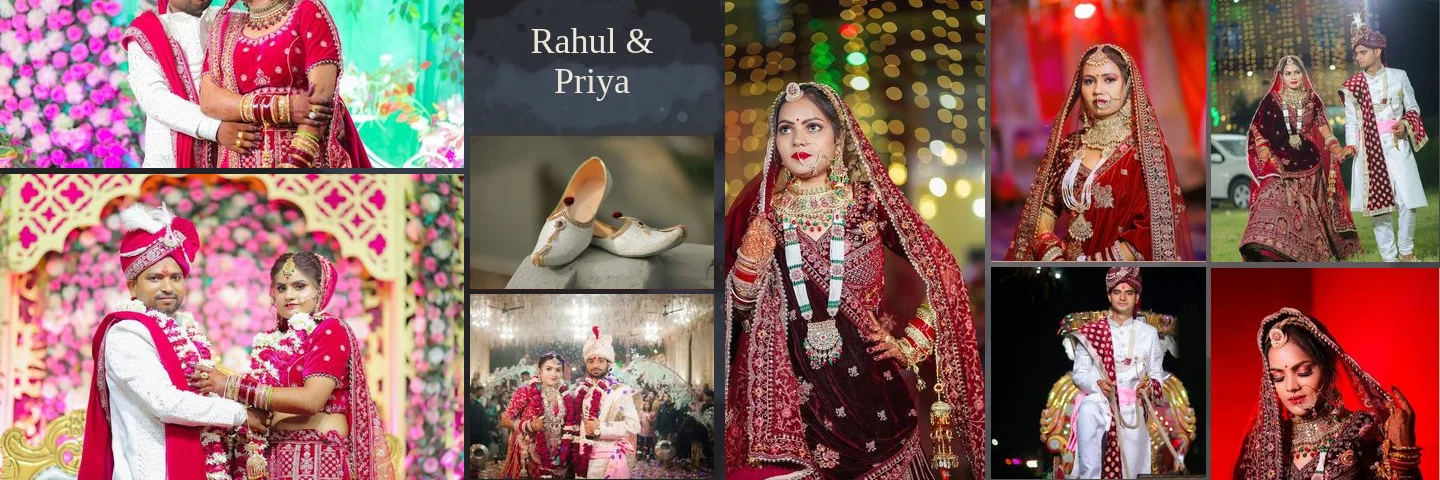
The frames nearest the centre are the riskiest place for faces. Good candidates for those positions are details (rings, mehndi hands, décor), wide venue shots whose subject sits on the outer side, and portraits where the person faces into the page, toward the outer edge. Put the most important faces, especially the couple's hero portrait, nearer the outer third of a page.
Tips
- Treat the inner 0.5 in of each page as a no-face zone for traditional bindings, even though the software only enforces 0.125 in.
- Ask your lab for their binding loss at the gutter and design to the larger of their value and the enforced zone.
- A portrait whose subject looks toward the fold leads the eye into the binding; flip the layout or choose another photo.
Common Mistakes
Spanning a panorama across both pages
Photos cannot cross the fold in Smart Photo Selection. Use a wide photo on one page, or split the scene into two photos, one per page.
Turning off the double-page option to get around the rule
The sheet would be treated as one page with no fold protection, and faces would print in the binding. Keep the option on for spread albums.
Checking only the fold line
A face 2 mm from the line is legal but still uncomfortable. Check how close faces are to the inner edge of their page.
Frequently Asked Questions
How wide is the fold-safe zone?
0.125 in on each side of the centre line, 0.25 in in total. That is about 75 px at 300 DPI.
Can I place a single photo across both pages?
No. Photos and text are kept on one page each so nothing important disappears into the binding.
Why was my photo moved after I dragged it?
It crossed the fold. The editor moves it onto the nearer page and shrinks it if needed, keeping a 0.125 in gap from the centre.
Does this apply to backgrounds and washes?
Background colours and paint washes can run across the spread; the rule applies to photo and text layers.
Related Guides
- How to Arrange 7 Photos on a Wedding Album SpreadThree ways to split seven photos across a spread (3 + 4, 4 + 3 and 5 + 2), when to use each, and how to pick or generate a 7-photo layout in Smart Photo Selection.
- How to Prepare a Wedding Album for PrintA print checklist for Smart Photo Selection: resolution and DPI, low-ppi warnings, centre fold, trim and safe area guides, bleed, sRGB colour and what to ask your album lab.
- How to Edit an AI-Generated Album DesignRefine AI-generated wedding album spreads: regenerate a sheet, change photos and crops, resize frames, edit text and exposure layers, and keep it all off the fold.
- How to Design a 12 × 36 Wedding AlbumSet up a 12x36 wedding album at the right DPI, pick templates that suit the 3:1 spread, keep faces off the fold and export 10,800 × 3,600 px sheets.
Related Features
Further Reading
- Bleed, Safe Area and the Centre Fold in Wedding AlbumsWhat bleed, trim, safe area and the centre fold mean for wedding album spreads, how binding affects the gutter, and how to keep faces and text safe.
- How Many Photos per Wedding Album Spread?Choosing how many photos to put on each wedding album spread: density, pacing, hero images, page splits like 3 + 4, and when fewer photos tell more.
- AI Wedding Album Design: The Complete GuideHow AI wedding album design works, what it does well, where you still decide, and a practical workflow from photo selection to print-ready export.
Try It in Smart Photo Selection
Open Album Studio with a photographer account, pick a booking and follow the steps above on your own photos.