Smart Photo Selection guide
How to Capture a Good Face Reference for a Scan
Get a face scan that matches: how to position, light and hold the phone so Smart Photo Selection captures a clear reference of the guest's face in the browser camera.
By Smart Photo Selection TeamUpdated Published 5 min read
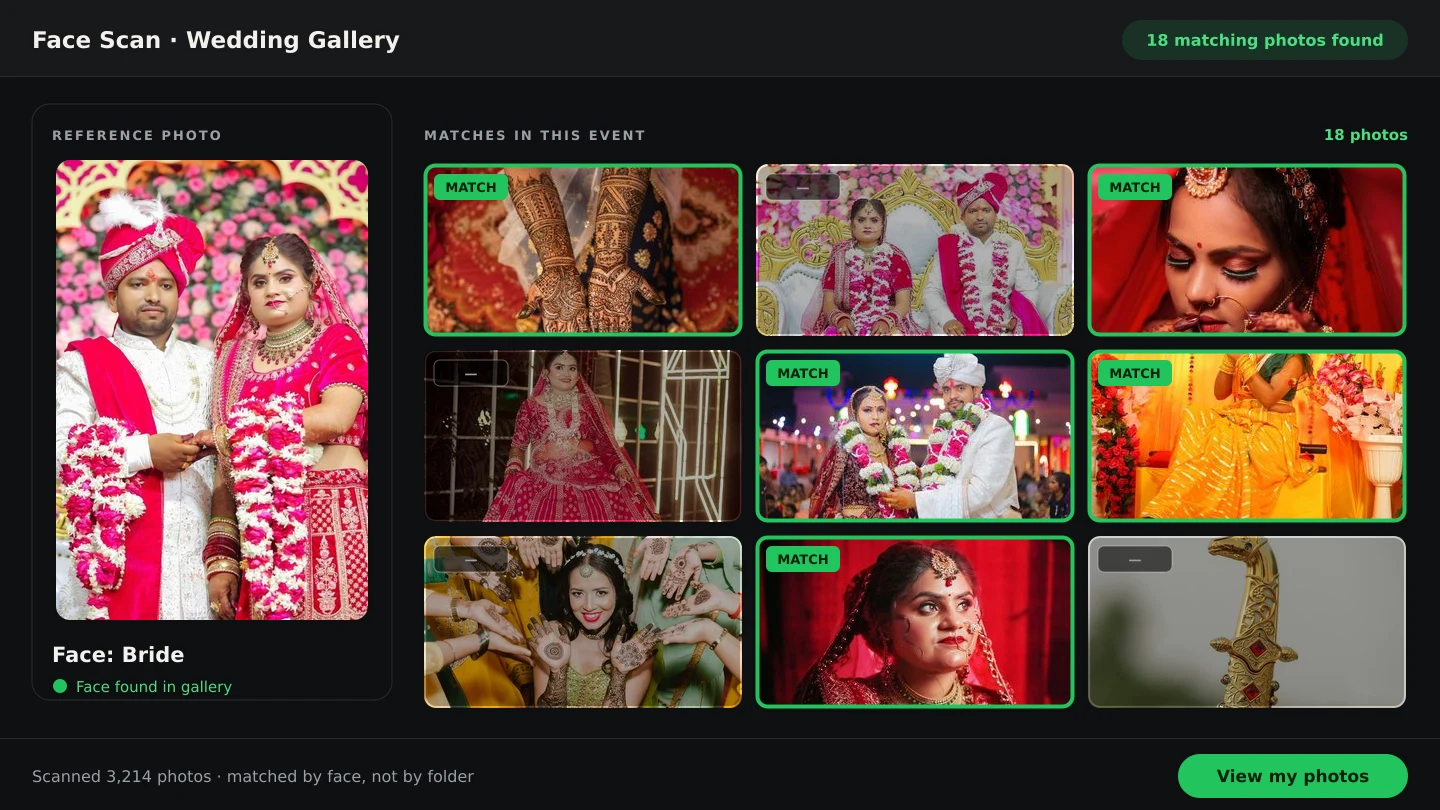
Short answer
On the Find Your Photos camera screen, have one person face the phone directly, filling the oval guide — roughly a fifth of the frame wide — in even light, without a cap, veil or harsh backlight. Keep the phone still until Hold still… 5/5 finishes; the scanner needs five consistent readings of the same face before it searches. If a message such as Too dark. Please move to better light... appears, fix that specific problem and the scan continues automatically.
What You Need
- A booking with Face Scan available (photographer premium subscription) and its photos uploaded.
- A phone or laptop camera, opened from the booking's
Scanpage withStart Scan. - One person in front of the camera — the scan is rejected if it sees more than one face.
- Enough light on the face: daylight or a lamp in front of the person, not behind them.
Why the reference matters
The scan builds a face reference — a descriptor averaged from several frames of the same face — and matches it against every photo in the booking. One weak frame produces a descriptor that matches the wrong people or nobody, so the scanner refuses to accept anything blurry, too small, badly lit, off-centre or cut off at an edge. That is why a scan either completes in about two seconds or keeps showing a message telling the guest what to change: each message names one measurable problem, and fixing it lets the scan finish without restarting the page.
Step by step: get a clean scan
- 1
Open the camera
From the booking's
Scanpage clickStart Scan, or let the guest tap it themselves. The screen is titled Find Your Photos with Look at the camera, and an oval guide marks where the face belongs. - 2
Frame the face
Have the person look straight ahead with their whole face inside the oval — not cut off at an edge, and not tiny in the frame. If the scanner says Move a little closer to the camera..., step in until the face fills roughly a fifth of the frame width.
- 3
Get the angle right
Both eyes and the nose should point at the lens. A three-quarter profile triggers Look straight at the camera..., and a face near the edge of the screen triggers Center your face in the frame... — move the phone, not just the eyes.
- 4
Fix the light
Light the face, not the background: face a window or a lamp. Too dark. Please move to better light... means the face is underexposed; Too bright. Please avoid direct light on the camera... means the sun or a bulb is behind or blasting the lens; Face detected. Move a little closer and face the light... appears when the detector is only just confident.
- 5
Hold still for five readings
When the checks pass, the message runs Hold still… 1/5 to 5/5 — five consistent readings of the same face. Move too much and the counter restarts, because the samples must describe the same person.
- 6
Wait for the result
The screen shows Finding your photos..., then Face scan completed. and opens the results with
Scanned By,Images CheckedandMatches Found. If the checks fail outright, the overlay explains it and offersTry Again.
A quick checklist for guests
- Take off caps and sunglasses; lift a veil or fringe off the forehead.
- Remove a mask covering the nose and mouth — the scanner needs the whole face.
- One person only: group scans are refused with Please make sure only one face is visible.
- Indoor daylight or a front-facing lamp beats a bright window behind the person.
- Brace the elbow on something or use both hands, so the five readings are not interrupted by shake.
- The whole scan takes about 15 seconds before it times out — plenty of time to correct position.
A scan that still fails usually means the booking's photos are not uploaded yet or the plan has no scan access — check the Scan page for Scan is unavailable. The wider setup is covered in find photos with Face Scan.
Tips
- Do one test scan yourself before the event so you can coach guests in the words the app uses.
- For a guest with spectacles, tilt the frames slightly so a lamp does not reflect straight into the lens.
- In a dark reception hall, use the phone's screen as a fill light by facing it towards the face at arm's length.
- If a guest keeps failing, wait a second between attempts — the camera auto-exposure needs a moment to settle.
Common Mistakes
Scanning in front of a bright window
Backlighting makes the face dark and triggers Too dark…. Turn the guest around so the window is behind the phone.
Holding the phone at arm's length and looking down
That angle fails Look straight at the camera... and shrinks the face below the size the scan needs. Eye level, a short arm's length.
Trying a group scan for a couple
The scan must show exactly one person. Run it twice, once per person — each gets their own results link.
Giving up at the first message
Messages are live guidance. Fix the stated problem — light, distance, centring — and the same screen finishes the scan.
Frequently Asked Questions
How long does a scan take?
About two seconds of steady framing once the checks pass, with a 15-second window in all: five readings, then Finding your photos....
Can someone scan with a photo of themselves?
The check needs a live face with the depth and movement the camera sees; holding a print or a second phone in front of the lens usually fails the blur and angle checks.
Why did the counter restart at 1/5?
The readings must all describe the same face. Movement, a hand passing or a second person entering the frame resets them — settle and start again.
Where is the reference stored?
The scan is created on the guest's device and saved with the booking so its results can be reopened; the photographer can delete any scan from the Scan page.
Related Guides
- How to Find Photos With Face ScanSet up and use Face Scan in Smart Photo Selection: share the gallery link or QR code, let a guest scan their face in the browser and show the photos they appear in.
- How to Manage and Deliver Photo GalleriesRun a booking's gallery end to end: downloads, private mode, sharing by link or QR, ZIP delivery of the selected set and the photo period that governs expiry.
- How to Upload and Organize Event PhotosUpload a full wedding shoot into Smart Photo Selection, keep one folder per function, recover failed uploads and check the gallery is organised before you cull.
- How to Send Photos to Clients for SelectionHand a gallery to the couple for photo selection: share the link or QR, let them mark frames with Done, then submit so the agreed set is locked for delivery.
Related Features
Further Reading
- Face Scan: Find Any Person's Photos in an Event GalleryHow a face scan photo finder works: a guest scans their face in the phone browser and sees only the event photos they appear in, with no app and no account.
- Face Scan vs Manual Photo Search: What Helps GuestsA clear comparison of face scan photo finding and manual gallery search: speed, coverage, privacy and what each approach means for photographers.
- How to Find Bride and Groom Photos FasterPractical ways to locate bride and groom photos across a wedding gallery of thousands: folder structure, selection marks and face-based search.
Try It in Smart Photo Selection
Open Album Studio with a photographer account, pick a booking and follow the steps above on your own photos.