Photography Business
A Wedding Album Delivery Workflow for Photographers
Albums are where wedding deliveries most often stall: the client has not chosen photos, the design waits for feedback, feedback arrives in five messages, and the lab needs files in a format nobody checked. A clear workflow with defined stages, one decision per stage and written limits on revision rounds keeps albums moving. This is a stage-by-stage process you can adapt, with notes on how Smart Photo Selection fits into each step.
By Smart Photo Selection TeamUpdated 5 min readIn Photography Business
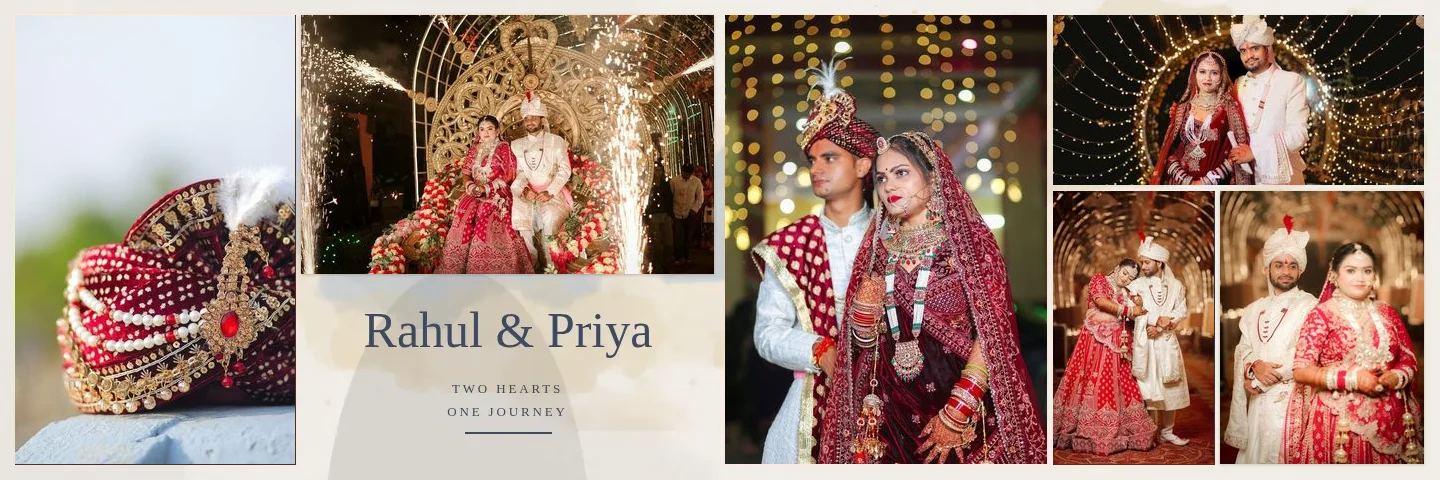
The stages at a glance
- Brief: size, page count, style and retouching level, agreed in writing.
- Client selection: the couple chooses their photos from the gallery.
- First design: a complete draft of every spread.
- Review: the client reviews exported spreads and sends one consolidated list of changes.
- Revisions: a limited number of rounds, as agreed in the brief.
- Pre-print check: resolution, fold, safe area, spelling, colour and file specification.
- Printing: files to the lab, with a proof if the look is sensitive.
- Delivery and archive: the album to the client, the files to your archive.
1. The album brief
Most album delays come from decisions nobody made at the start. Agree these with the couple before any design work, and keep them with the booking:
- Album size and number of spreads (see 12 × 36 vs 14 × 40).
- How many photos they may select, and what happens if they choose more.
- Style direction: classic and framed, editorial, cinematic, or mixed per function.
- Retouching level, including anything they want left alone (see natural skin retouching).
- Number of revision rounds included, and the deadline for feedback.
- Names and spellings for any text in the album.
2. Client photo selection
Let the couple choose from a culled gallery, not the raw shoot. Give them a target number that matches the album size and a deadline. A locked final selection is important: once they submit, design starts from that set, and later additions are treated as changes.
Smart Photo Selection's photo selection tools let clients pick favourites online and submit a final selection, which then becomes the starting point for the album. Shared galleries also show your studio name and contact details.
3. First design
Design the whole album before showing anything. A complete draft lets the client judge pacing and story, while a few sample spreads invite piecemeal feedback. This is where AI saves the most time: the AI album generator turns the selection into designed spreads at your album size, using automatic designs, a library template or your own PSD.
Treat the AI output as a first draft. Check every sheet for the hero choice, sequence, crops and faces near the fold, and adjust in the editor before the client sees it. Spending an hour here saves a revision round later.
4. Client review
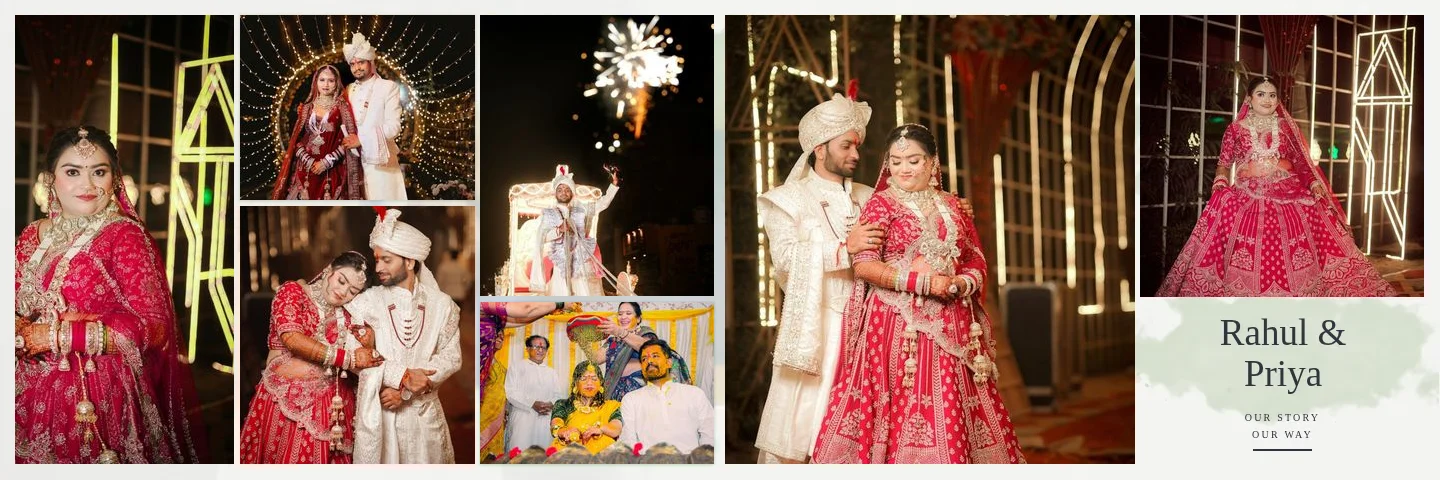
Smart Photo Selection does not currently offer online client review of album drafts; drafts stay in Album Studio. Export the spreads as JPG files, which are lightweight enough to share, and send them as one numbered set. Ask for feedback in a single list that refers to spread numbers, for example Spread 07: swap the left portrait for one where Priya is laughing.
- Number the files in page order so feedback refers to the same spread you see. Smart Photo Selection names exports in sequence, such as
-album-sheet-07.jpg. - Mark the files clearly as previews, at reduced size if you prefer, so they are not mistaken for print files.
- Remind the client of the revision rounds and the feedback deadline in the same message.
5. Revisions
Apply all changes from one round together, then export a fresh set. Typical changes are photo swaps, crop adjustments, removing a spread or reordering events. In Smart Photo Selection, open the sheet, use Change Photo on the frame, adjust the crop, and regenerate a sheet only if the whole layout should change.
6. Pre-print checklist
- Resolution: no photo flagged below 200 ppi, or the client has accepted the softer print.
- Fold: no face or text crossing the centre fold; Smart Photo Selection blocks export if anything does.
- Safe area and bleed: faces and text inside the safe area; bleed as the lab specifies. See bleed, safe area and the centre fold.
- Text: names, dates and spellings checked against the brief.
- Colour: consistent across facing pages; dark spreads checked for shadow detail.
- Files: the format, colour profile and naming the lab requires (see JPG, PNG, TIFF or PSD).
7. Printing
Send files exactly as the lab specifies, and keep their order confirmation with the booking. For a new lab, a new paper or a moody, dark album, ask for a proof of one or two spreads before the full print. Note the expected delivery date and tell the client when the album has been sent to print.
8. Delivery and archive
Deliver the album with care: check it for print or binding defects before it reaches the client. Archive the final print files and the layered PSDs together with the original photos. Smart Photo Selection stores projects in the browser on the device you use, not in the cloud, so the exported files are your permanent record; back them up like any other client delivery.
Making the workflow repeatable
- Use the same brief questions and checklist for every album.
- Reuse your own PSD designs with PSD album automation so studio styles stay consistent.
- Standardise sizes and spread counts in your packages to reduce custom work.
- Review your revision rounds: if the same feedback keeps appearing, fix it in the first design.
For the design side of the process in more depth, read AI wedding album design: the complete guide, and see how different photography businesses use Smart Photo Selection.
workflowclient approvalalbum deliveryphotography business
Frequently Asked Questions
How many revision rounds should I include?
Many studios include one or two rounds and charge for more. Whatever you choose, write it in the brief so the client knows before design starts.
Can clients review album drafts inside Smart Photo Selection?
Not yet. Export the spreads as JPG previews and share them for approval; feedback can then refer to the numbered sheets.
When should the client select photos?
After you deliver the culled gallery and before design begins. A locked final selection prevents design work being redone.
What should I archive after delivery?
The original photos, the final print files and the layered PSDs, backed up outside the browser, since Smart Photo Selection projects are stored on one device.
Related Articles
- AI Wedding Album Design: The Complete GuideHow AI wedding album design works, what it does well, where you still decide, and a practical workflow from photo selection to print-ready export.
- JPG vs PNG vs TIFF vs PSD: Which File Format for Wedding Albums?Which file format to send your album lab: JPG, PNG, TIFF or PSD compared on quality, size, layers and colour profiles, and what Smart Photo Selection exports today.
- Natural Skin Retouching for Wedding Photos: What to Fix and What to LeavePrinciples of natural skin retouching for wedding albums: what to remove, what to keep, preserving texture, consistency across spreads and asking clients.
Step-by-Step Guides
- How to Create a Wedding Album With AIStep-by-step: pick a booking, run the AI photo selection, choose a size and design style, generate the spreads, then review and export your wedding album.
- How to Edit an AI-Generated Album DesignRefine AI-generated wedding album spreads: regenerate a sheet, change photos and crops, resize frames, edit text and exposure layers, and keep it all off the fold.
- How to Export a Wedding Album as JPG, PNG or Layered PSDExport one album sheet or the whole album from Smart Photo Selection as full-resolution JPG, PNG or a verified layered PSD, and download everything as a ZIP for your lab.
Related Features
Design Your Next Album in Smart Photo Selection
Generate spreads from a booking's photos, refine them in the layer-based editor and export print-ready files.