Smart Photo Selection guide
How to Retouch Skin Naturally in Wedding Photos With Smart Photo Selection
Step-by-step natural skin retouching in Smart Photo Selection: Spot Healing, Healing Brush, Clone Stamp and gentle dodge and burn that keep real skin texture.
By Smart Photo Selection TeamUpdated 5 min read
Short answer
Open the photo in focus mode (F), remove temporary blemishes with the Spot Healing Brush (J), use the Healing Brush or Clone Stamp (S) with an Alt+click source for larger areas, then even out light with Dodge and Burn at a low Exposure. Retouching goes on a separate “Retouch” layer, so you can lower its opacity or delete it, and the original photo is never changed.
What You Need
- An album sheet open in the Smart Photo Selection editor with the photo you want to retouch
- A mouse or pen; a trackpad works but is less precise for small brushes
- The photo at a zoom level where you can see pores (use
Actual pixels, Ctrl+1)
What natural retouching means
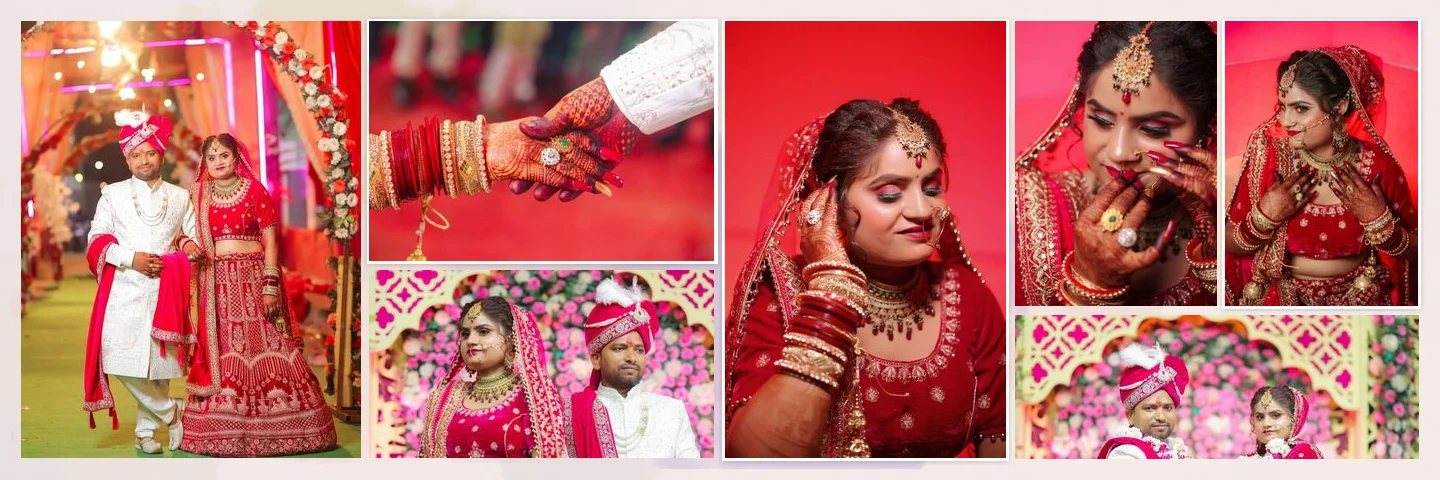
Natural retouching removes things that are temporary (a spot, a stray hair, a mark from a shoe strap, a reflection on the forehead) and keeps things that belong to the person (freckles, moles, laughter lines, skin texture). Wedding albums are looked at for decades, and heavily smoothed skin dates quickly. The principles behind this are covered in natural skin retouching for wedding photos; this guide shows the steps in the editor.
Set up before you retouch
- 1
Focus on the photo
Select the photo on the sheet and choose
Image›Edit photo (focus mode)or press F. The options bar showsEditing photo: …and aDone · back to albumbutton. - 2
Zoom to actual pixels
Press Ctrl+1 (
Actual pixels) so one image pixel is one screen pixel. Use theHandtool (H or hold Space) to move around. - 3
Choose a brush preset
In the options bar choose
Brush preset…›Retouch (soft, 30%). AdjustSizewith [ and ] so the brush is only slightly larger than the blemish.
Remove blemishes with the Spot Healing Brush
- 1
Select the tool
Pick
Spot Healing Brush(J) from the healing group in the left toolbar. - 2
Click once per spot
Click directly on a blemish. Short dabs work better than long strokes, because the tool blends from the area around each dab.
- 3
Check the result
Hold
Before/Afterin the top bar (or the \ key) to compare with the original.
Fix larger areas with the Healing Brush or Clone Stamp
For a crease, a shadow under a strap or a stray hair crossing the cheek, sample clean skin from nearby. Both tools need a source point: hold Alt and click on clean skin with similar light and texture. Until you do, the editor shows No source — Alt+click with the Clone Stamp or Healing Brush.
- 1
Healing Brush
Select
Healing Brush(in the same group as Spot Healing), Alt+click clean skin, then paint over the problem. Healing matches the surrounding colour and light, so it suits skin. - 2
Clone Stamp
Select
Clone Stamp(S) for areas with a clear structure, such as a hairline, fabric pattern or background. It copies pixels exactly, so use a soft edge and change the source often to avoid visible repeats. - 3
Keep strength low
Set
Opacityaround 30–60 % and build up in passes instead of one full-strength stroke.
Even out light with dodge and burn
Uneven skin is mostly small light and dark patches. Lightening the small dark patches (dodge) and darkening small bright ones (burn) evens the surface without blurring the texture.
- 1
Dodge dark patches
Select
Dodge(O) and setExposurelow, around 5–10 %. Paint gently over under-eye shadows or small dark areas. - 2
Burn bright patches
Switch to
Burnand darken shiny highlights on the forehead or nose a little. Leave the natural highlight that gives the face shape. - 3
Calm redness
Use
SpongewithDesaturateand a lowFlowon red areas around the nose or eyes. UseSaturatesparingly to bring back colour to lips.
Control the strength and stay consistent
All retouching strokes are placed on a separate layer named “Retouch”. If the result looks too clean, lower that layer's Opacity in the Layers panel until some texture returns; delete it to start over. When you finish, press Done · back to album and look at the photo at the sheet's real size, because detail that looks rough at 100 % zoom usually disappears in print.
Retouch the same person to the same level on every sheet. A bride who looks perfectly smooth in the portrait sheet and natural in the reception sheet will look like two different people. For colour consistency across sheets, see colour grading wedding photos.
Tips
- Pick a source point from the same side of the face; light changes across a cheek.
- Work at 100 % for healing and at fit-to-screen (Ctrl+0) to judge the overall effect.
- Leave permanent features such as moles and freckles unless the client asks for them to be removed.
- Retouch faces in hero and exposure photos first; small supporting photos rarely need it.
Common Mistakes
Healing with a brush that is too large
Keep the brush just bigger than the spot; large brushes pull in unrelated texture.
Repeating clone patterns
Alt+click a new source every few strokes and keep the Clone Stamp edge soft.
Removing all under-eye shadow
Lighten it partly with Dodge at low Exposure; a face with no shadows looks flat.
Inconsistent retouching across the album
Review all sheets with the same person side by side before exporting.
Frequently Asked Questions
Does retouching change my original photo file?
No. Strokes are stored on a separate Retouch layer and the original image in the booking gallery is not modified.
Can I retouch a photo once and reuse it on another sheet?
Retouching belongs to the photo layer on that sheet. If the same photo appears elsewhere, retouch it there as well, or reuse the sheet with Duplicate sheet.
Which tool should I use for a stray hair across the face?
Use the Healing Brush with an Alt+click source just beside the hair, painting along the hair in short strokes.
Is there an automatic skin-smoothing filter?
No. Smart Photo Selection does not offer AI skin smoothing; the tools are manual so texture stays under your control.
Related Guides
- How to Colour Grade Wedding Photos in Smart Photo SelectionCorrect and grade wedding photos on an album sheet with Curves, HSL, Color Balance, Gradient Map and presets, then copy the look to every photo for consistency.
- How to Use Layers, Layer Masks and Clipping Masks in Smart Photo SelectionLearn how layers, layer masks, clipping masks and adjustment layers work in the Smart Photo Selection editor, with the exact menu names and shortcuts.
- How to Edit an AI-Generated Album DesignRefine AI-generated wedding album spreads: regenerate a sheet, change photos and crops, resize frames, edit text and exposure layers, and keep it all off the fold.
Related Features
Further Reading
- Natural Skin Retouching for Wedding Photos: What to Fix and What to LeavePrinciples of natural skin retouching for wedding albums: what to remove, what to keep, preserving texture, consistency across spreads and asking clients.
- Wedding Photo Colour Grading Styles: Choosing a Look That LastsWarm, film, clean and bright, moody cinematic or teal and orange: how each wedding colour grading style works, who it suits and how to keep albums consistent.
- AI Wedding Album Design: The Complete GuideHow AI wedding album design works, what it does well, where you still decide, and a practical workflow from photo selection to print-ready export.
Try It in Smart Photo Selection
Open Album Studio with a photographer account, pick a booking and follow the steps above on your own photos.