Photo Editing
Natural Skin Retouching for Wedding Photos: What to Fix and What to Leave
Wedding albums are looked at for decades, often by the people in them. Retouching that removes a stress breakout is a kindness; retouching that removes pores, freckles or a smile line erases the person. This article sets out practical principles for natural skin retouching in wedding albums: what is temporary and can go, what is identity and should stay, and how to keep results consistent from the first spread to the last.
By Smart Photo Selection TeamUpdated 5 min readIn Photo Editing
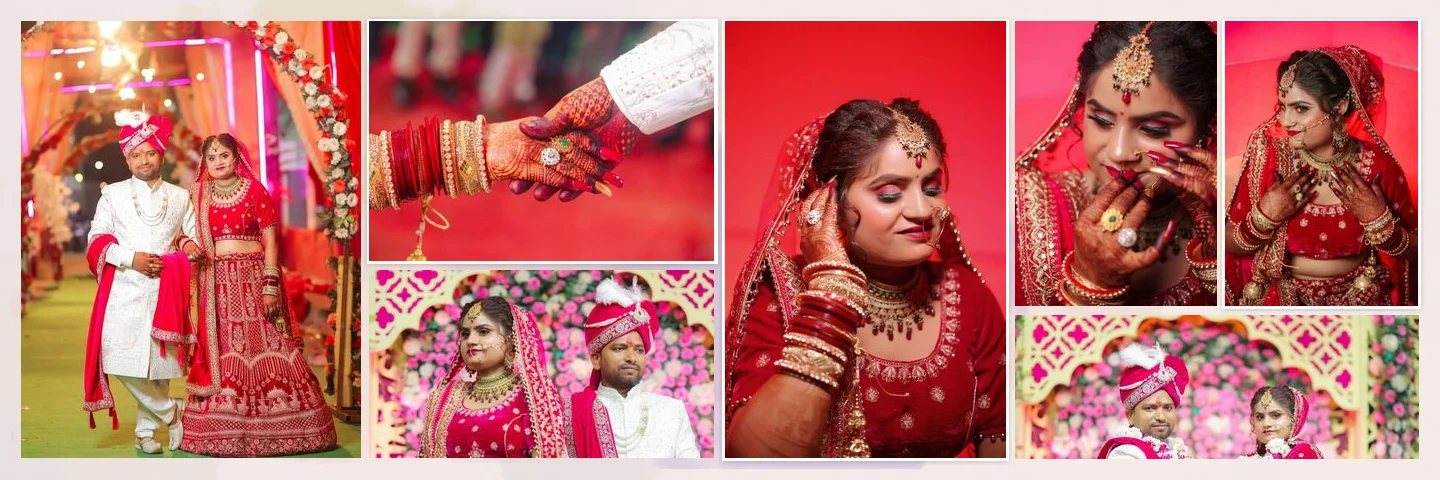
The core rule: temporary versus permanent
A simple test settles most decisions. Would this look the same in a month? If not, it is usually fine to remove. If it would, it is part of the person and needs their permission to change.
| Usually remove | Usually soften slightly | Leave unless asked |
|---|---|---|
| Active blemishes and breakouts | Under-eye shadows from a long day | Moles, birthmarks and freckles |
| Small scratches, bites, makeup smudges | Redness around the nose | Scars |
| Stray hairs across the face | Shine on forehead and nose | Smile and laugh lines |
| Bindi or sindoor smudges | Visible veins in harsh light | Skin tone and natural texture |
| Lint, dust and sensor spots | Wrinkled fabric at the collar | Body shape and facial features |
Texture is what makes skin look real
Skin has fine texture: pores, tiny hairs and small variations in tone. Over-smoothing removes it, and the eye instantly reads the result as fake, especially in large album prints where a face can be several inches tall. The goal is to remove distractions while keeping texture.
- Spot fixes, not blanket blur. Remove individual blemishes with healing tools instead of blurring whole areas.
- Low opacity for softening. Under-eye shadows look better reduced than erased; a soft brush at around 30 % opacity keeps them natural.
- Tone, not texture. Dodge and burn evens out light and shadow without touching pores, which is why it looks more natural than smoothing.
- Check at print size. Zoom to 100 % on the sheet; what looks fine at screen size can look plastic at 14 inches.
Which tool for which job
Most retouching applications offer similar tools, and the principles transfer between them:
- Spot healing: small blemishes on even skin. The tool blends from the surrounding area.
- Healing brush from a source: larger areas or near edges, where you choose clean skin to sample from.
- Clone stamp: exact copies, for hairlines, jewellery edges, fabric or backgrounds where healing would smear.
- Dodge and burn: light and shadow, at low strength, for even tone and gentle shaping.
- Sponge (desaturate): reduce local redness without changing brightness.
Smart Photo Selection's photo editor includes all of these, plus a soft 30 % retouch brush preset. Click-by-click instructions are in how to retouch skin naturally; this article stays with the decisions.
Skin tone and colour
Uneven colour is often a white-balance or lighting problem rather than a skin problem. Mixed light at Indian weddings, such as tungsten stage lights, LED panels and daylight from a door, can make one cheek orange and the other green. Correct the light first; then judge the skin.
- Never lighten or whiten skin tone as a default. It changes how the person looks, and many clients find it offensive.
- Keep skin tones consistent for the same person across the album, even when the light changes between functions.
- Use targeted colour tools (HSL, selective colour on reds and yellows) rather than global saturation, which also changes outfits and décor.
Consistency across a whole album
A face retouched heavily on one spread and not at all on the next is more noticeable than either level on its own. Decide on a retouching level per album and apply it to every photo where faces are large enough to see.
- Prioritise by size. Hero photos and portraits need the most care; faces a few millimetres tall in group shots usually need none.
- Same person, same level. If you soften under-eyes on the bride's portrait, do it on the facing page too.
- Review spreads, not photos. Facing pages show inconsistencies that single photos hide.
- Keep the originals. Retouch in a way you can undo, so client feedback can be applied without starting again.
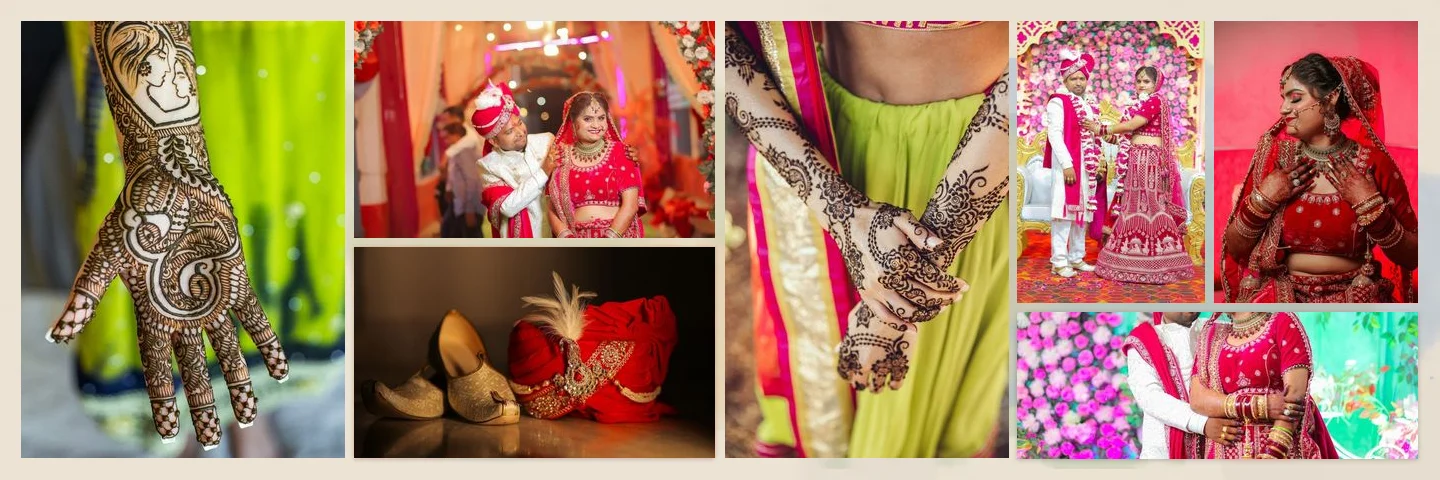
Common over-retouching signs
- Skin that looks like plastic or wax, with no pores at 100 %.
- Eyes brightened until the whites look grey-blue or glowing.
- Teeth whitened to pure white, which looks unnatural next to ivory outfits.
- Halos or blurry edges around the face from smoothing too close to the hairline.
- Different skin colour in two photos from the same moment.
If you see any of these, step back: reduce opacity, remove the smoothing and rely on spot fixes and dodge and burn instead.
Where retouching fits in the album workflow
Retouch after the layout is fixed, so you only work on photos that are actually in the album and at the size they will print. Do colour correction before retouching skin tone, and grading last (see colour grading styles). For the full order of work from selection to export, read AI wedding album design: the complete guide.
skin retouchingwedding editingportraitstexture
Frequently Asked Questions
How much retouching do clients expect in a wedding album?
Most expect blemishes and distractions to be removed and the skin to look like themselves on a good day. Ask in the album brief rather than guessing.
Should I retouch every photo in the album?
No. Retouch photos where faces are large enough to see detail. Small frames in dense spreads only need a check for obvious distractions.
Is skin smoothing ever acceptable?
Light, local softening at low opacity can be, as long as texture remains visible at print size. Blanket smoothing almost always looks artificial in large prints.
Can retouching be undone after client feedback?
Work non-destructively where possible and keep originals. In Smart Photo Selection, retouching steps are in the History panel (up to 100 steps per sheet) while you edit.
Related Articles
- AI Wedding Album Design: The Complete GuideHow AI wedding album design works, what it does well, where you still decide, and a practical workflow from photo selection to print-ready export.
- Wedding Photo Colour Grading Styles: Choosing a Look That LastsWarm, film, clean and bright, moody cinematic or teal and orange: how each wedding colour grading style works, who it suits and how to keep albums consistent.
- A Wedding Album Delivery Workflow for PhotographersA practical album workflow for wedding photographers: client photo selection, design, review rounds, revisions, lab checks, printing and final delivery.
Step-by-Step Guides
- How to Retouch Skin Naturally in Wedding Photos With Smart Photo SelectionStep-by-step natural skin retouching in Smart Photo Selection: Spot Healing, Healing Brush, Clone Stamp and gentle dodge and burn that keep real skin texture.
- How to Use Layers, Layer Masks and Clipping Masks in Smart Photo SelectionLearn how layers, layer masks, clipping masks and adjustment layers work in the Smart Photo Selection editor, with the exact menu names and shortcuts.
- How to Colour Grade Wedding Photos in Smart Photo SelectionCorrect and grade wedding photos on an album sheet with Curves, HSL, Color Balance, Gradient Map and presets, then copy the look to every photo for consistency.
Related Features
Design Your Next Album in Smart Photo Selection
Generate spreads from a booking's photos, refine them in the layer-based editor and export print-ready files.