Smart Photo Selection guide
How to Colour Grade Wedding Photos in Smart Photo Selection
Correct and grade wedding photos on an album sheet with Curves, HSL, Color Balance, Gradient Map and presets, then copy the look to every photo for consistency.
By Smart Photo Selection TeamUpdated 6 min read
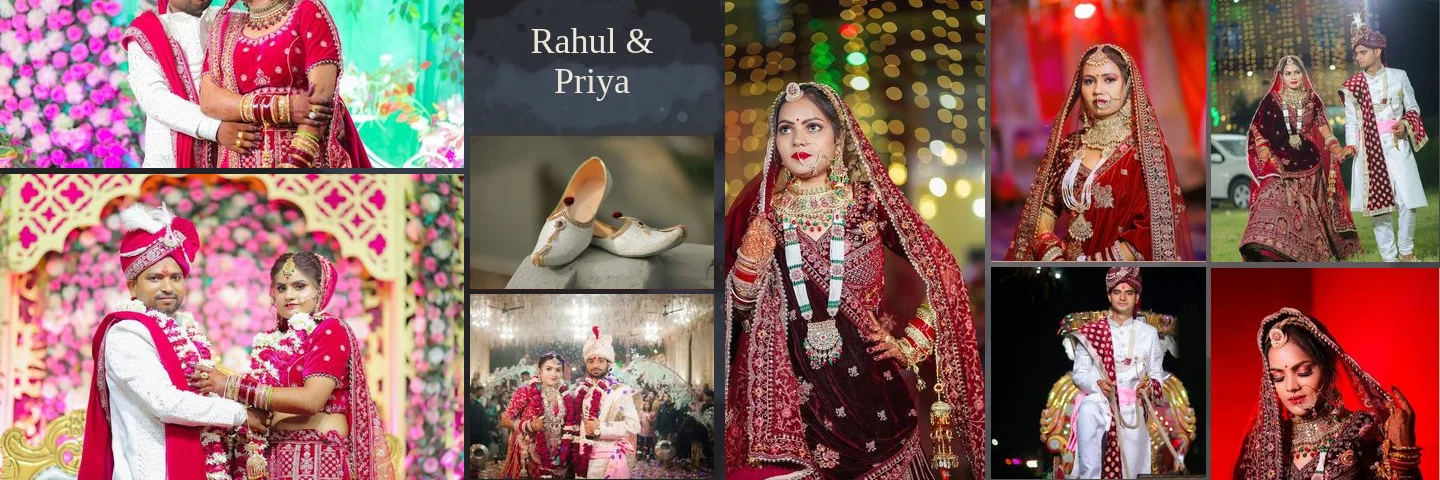
Short answer
Select a photo on the sheet, open the Adjust tab and correct it first (white balance with Temperature and Tint, then Exposure, Highlights and Shadows). Then build the look with Curves, HSL / Colour and Color Balance, check it with Before/After, and use Copy adjustments (Ctrl+Alt+C) and Paste adjustments to all photos to keep the whole sheet consistent.
What You Need
- An album sheet open in the editor, with photos placed in their frames.
- A calibrated or at least neutral-looking screen. Grading on a very blue or very bright laptop screen is the most common cause of prints that look different.
- Optionally, your own presets as Lightroom/Camera Raw
.xmpfiles, Photoshop-style.acvcurves or.cubeLUTs.
Correct first, grade second
Colour correction makes a photo accurate: neutral whites, believable skin, detail in the dress and the suit. Colour grading makes a set of photos look like one story: a warm film look, a clean bright look or a moody cinematic look. If you grade an uncorrected photo, the grade amplifies its colour cast. So the order is always the same: fix white balance and exposure per photo, then apply the shared look. For help choosing a look, read wedding photo colour grading styles.
Every adjustment in Smart Photo Selection is non-destructive. The original photo file is never changed, the sliders can be reset at any time, and the final export applies the adjustments to the full-resolution original.
Step by step: grade one photo
- 1
Select the photo
Click the photo on the sheet with
Move / select(V). For a closer look, choose Image ›Edit photo (focus mode)(F); clickDone · back to albumwhen you finish. - 2
Neutralise white balance
In the
Adjusttab, openColourand moveTemperatureandTintuntil whites and grey suits look neutral. Use theEyedropper(I) to sample a white area and compare values if you are unsure. - 3
Set the exposure
In
Light, setExposure, then recover the dress withHighlightsand open dark suits withShadows. UseWhitesandBlacksto set the end points. Watch theHistogramin the top dock: a graph piled against the right edge means clipped highlights. - 4
Shape contrast with Curves
Open
Curves. Start from theMedium contrastpreset or drag a gentle S-curve: a point slightly below the line in the shadows and slightly above it in the highlights. Lifting the black end gives a soft, matte look; keep it subtle on skin. - 5
Tune colours with HSL
Open
HSL / Colour. On theSaturationandLuminancetabs, calm loud greens and oranges in the background, and use the orange and redHuecontrols carefully so skin stays natural. - 6
Tint shadows and highlights
Open
Color Balance, pickShadows,MidtonesorHighlights, and add a small shift, for example cooler shadows and warmer highlights. KeepPreserve luminosityon so brightness does not change. - 7
Refine specific colours
Use
Selective Colorwhen one colour family needs work, such as yellow in a marigold-heavy haldi set, without touching the rest. - 8
Check against the original
Hold
Before/After(or the\key) to compare, or turn on View ›Before / after split(Ctrl+Alt+B). Step back if the skin no longer looks like the person.
Keep the whole album consistent
A single beautiful photo matters less than a spread where all the photos match. Once one photo is graded, reuse its settings:
- With the graded photo selected, choose Edit ›
Copy adjustments(Ctrl+Alt+C). - Select another photo and choose Edit ›
Paste adjustments(Ctrl+Alt+V), or choose Edit ›Paste adjustments to all photosto apply the look to every photo on the sheet. - Go through the pasted photos and fix only white balance and exposure where the light was different. The look stays shared; the correction stays per photo.
- Open the next sheet and paste again, so the grade carries through the album.
For a look that should cover many photos at once, a new adjustment layer (Layer › New adjustment layer) applies to everything below it on the sheet. Use it for a final warmth or contrast tweak across the spread; keep per-photo corrections on the photos themselves. Adjustment layers are explained in how to use layers and masks.
Gradient maps, filters and presets
Gradient Map maps the tones of a photo onto a gradient. Presets such as B&W, Warm sepia and Teal & orange are useful at low strength for a unified tone across mixed photos, or at full strength for a monochrome chapter of the album. Tone Effects holds Noise reduction, Posterize, Threshold and Invert; noise reduction is the one you will use most, on high-ISO reception photos.
The Filters tab offers ten looks (Grayscale, Black & White, Sepia, Vintage, Cinematic, Warm, Cool, Fade, Vivid and Matte) with an intensity slider. In its Presets section, Import accepts .xmp, .acv and .cube files. XMP import covers the basic, tone curve and white-balance settings; settings that are not supported are listed after import, so you know what did not carry over. A LUT made for log footage will look wrong on finished JPGs, so use LUTs designed for stills.
Grading different events in one album
Indian weddings in particular mix daylight haldi, tungsten-lit mehndi, coloured stage lights at the sangeet and flash at the reception. Forcing one identical grade onto all of them rarely works. Instead, keep one family of settings (the same curve shape, the same shadow tint) and allow each event its own warmth. Group spreads by event so the change in colour happens at a chapter boundary, not in the middle of a spread.
Tips
- Correct white balance on a photo with something white or grey in it, then paste the settings to similar photos from the same light.
- Reduce saturation of distracting background colours in
HSL / Colourbefore boosting anything else. - Grade in a dim room with the screen at moderate brightness; a very bright screen leads to dark prints.
- Save a look you like as a preset in the
Filterstab so the next album starts from it.
Common Mistakes
Grading before correcting
Fix Temperature, Tint and Exposure first. A grade on top of a colour cast makes the cast stronger.
Orange or grey skin
Check skin after every step. Pull back orange saturation in
HSL / Colouror reduce the Color Balance shift; skin should still look like the person.Every photo graded separately by eye
Use
Copy adjustmentsandPaste adjustments to all photos, then fix only exposure and white balance per photo.Crushed blacks on dark templates
Dark pages already print dark. Keep shadow detail in suits and hair; avoid pulling
Blacksall the way down.
Frequently Asked Questions
Do adjustments change my original photo files?
No. Adjustments are stored with the sheet and applied when the sheet is rendered or exported. The originals stay untouched.
Can I use my Lightroom presets?
Yes. Import .xmp presets in the Filters tab under Presets. Basic, tone curve and white-balance settings are supported; anything else is listed as not imported.
Is there a way to grade the whole album at once?
Paste adjustments to all photos on each sheet, or use an adjustment layer per sheet. There is no single album-wide grade control.
Why does my print look darker than the screen?
Screens are backlit and usually brighter than paper. Grade at moderate brightness, keep shadow detail, and ask your lab for a proof of one spread.
Related Guides
- How to Retouch Skin Naturally in Wedding Photos With Smart Photo SelectionStep-by-step natural skin retouching in Smart Photo Selection: Spot Healing, Healing Brush, Clone Stamp and gentle dodge and burn that keep real skin texture.
- How to Use Layers, Layer Masks and Clipping Masks in Smart Photo SelectionLearn how layers, layer masks, clipping masks and adjustment layers work in the Smart Photo Selection editor, with the exact menu names and shortcuts.
- How to Prepare a Wedding Album for PrintA print checklist for Smart Photo Selection: resolution and DPI, low-ppi warnings, centre fold, trim and safe area guides, bleed, sRGB colour and what to ask your album lab.
- How to Edit an AI-Generated Album DesignRefine AI-generated wedding album spreads: regenerate a sheet, change photos and crops, resize frames, edit text and exposure layers, and keep it all off the fold.
Related Features
Further Reading
- Wedding Photo Colour Grading Styles: Choosing a Look That LastsWarm, film, clean and bright, moody cinematic or teal and orange: how each wedding colour grading style works, who it suits and how to keep albums consistent.
- Natural Skin Retouching for Wedding Photos: What to Fix and What to LeavePrinciples of natural skin retouching for wedding albums: what to remove, what to keep, preserving texture, consistency across spreads and asking clients.
- AI Wedding Album Design: The Complete GuideHow AI wedding album design works, what it does well, where you still decide, and a practical workflow from photo selection to print-ready export.
Try It in Smart Photo Selection
Open Album Studio with a photographer account, pick a booking and follow the steps above on your own photos.