Smart Photo Selection guide
How to Design a 14 × 40 Wedding Album
Create a 14x40 wedding album in Smart Photo Selection: 12,000 × 4,200 px at 300 DPI, photo resolution checks, layouts that use the extra height, and fold-safe export.
By Smart Photo Selection TeamUpdated 5 min read
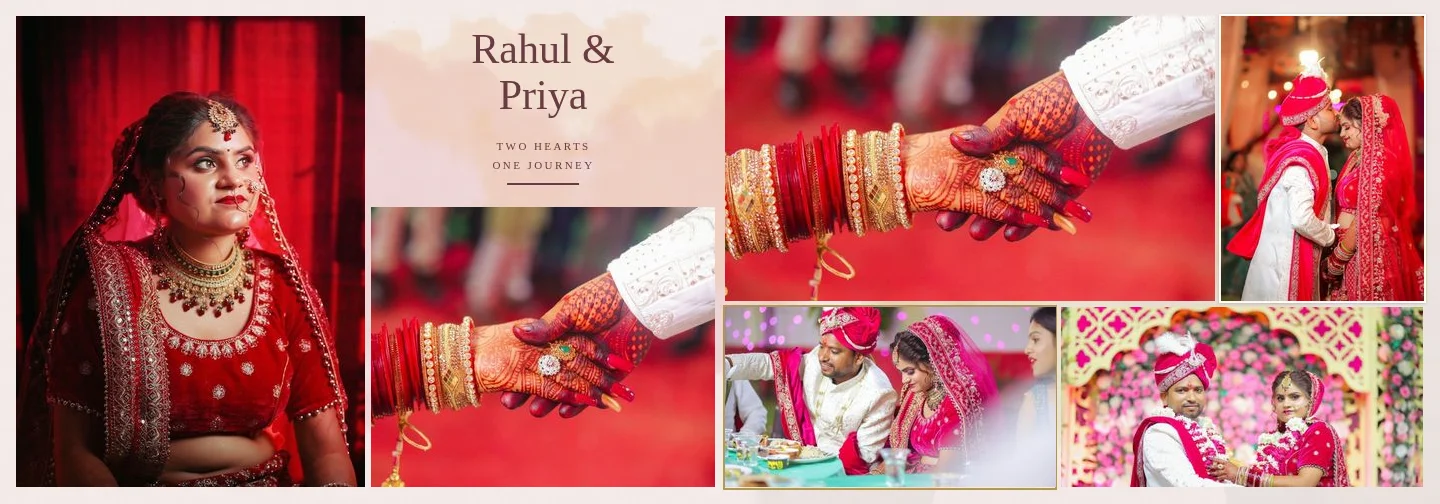
Short answer
Pick the 14 × 40 in spread size (12,000 × 4,200 px at 300 DPI), keep the double-page option on and choose a template or AI design; every library template is laid out natively for this ratio. Because the spread is larger, check that full-height photos have at least 4,200 px for 300 ppi, or 2,800 px for the 200 ppi warning threshold.
What You Need
- A photographer (studio) account with Album Studio and a booking with the wedding photos.
- Your lab's 14 × 40 specification: resolution, trim and bleed, and whether files are per spread.
- Higher-resolution source photos than for 12 × 36: about 17 % more pixels on each side for the same ppi.
How 14 × 40 differs from 12 × 36
A 14 × 40 in spread is two 14 × 20 in pages. Its ratio is about 2.86 : 1, slightly taller than the 3 : 1 of 12 × 36. That extra relative height matters more than the extra size: portrait photos can be larger, and dense layouts get more breathing room between rows. Templates are re-composed for the ratio rather than enlarged, and margins and gaps are kept in inches, so a 14 × 40 album looks as airy as its 12 × 36 version.
| Resolution | Spread in pixels | One page | Full-height photo needs |
|---|---|---|---|
| 300 DPI | 12,000 × 4,200 px | 6,000 × 4,200 px | 4,200 px tall |
| 240 DPI | 9,600 × 3,360 px | 4,800 × 3,360 px | 3,360 px tall |
| 200 DPI | 8,000 × 2,800 px | 4,000 × 2,800 px | 2,800 px tall |
At 300 DPI a 14 × 40 sheet has about 30 % more pixels than a 12 × 36 sheet. Generation and export take a little longer and use more browser memory, so close other heavy tabs on older laptops.
Step by step: set up a 14 × 40 album
- 1
Start from a template or a new album
To begin with a style, open
Templates, set theSize:filter to 14 × 40 and open a template withAI EditororManual. Otherwise clickCreate albumand chooseCreate with AIorManual album editor. - 2
Choose 14 × 40
In a manual album, pick
14 × 40 in spreadunderAlbum sizeand setResolution (DPI). In the AI flow, choose the 14 × 40 preset inAlbum sizeon the design step. KeepDouble-page spread — folds in the middleticked. - 3
Select photos with resolution in mind
Large frames on a 14 × 40 spread expose soft or heavily cropped files. Prefer originals from the booking gallery over resized copies, and leave tightly cropped photos for small frames.
- 4
Generate the spreads
Click
Generate album. UseExactly N — all on one sheetwhen a spread should hold a set number of photos, orAutomatic (varies per sheet)to let the density vary. - 5
Check every sheet in the editor
Open a sheet with
Edit. The status bar shows the size as 14 × 40 in. Turn on View ›Print guides (trim 0.125 in, safe area 0.375 in)and look for faces or text near the edges and near the fold line. - 6
Fix low-resolution warnings
Before export, the
Check before generatingdialog lists empty slots and photos printing below 200 ppi. ClickGo back and fix, then useChange Photoor make the frame smaller. - 7
Export
Use
Exporton a sheet, orExport all sheetswithJPG(andLayered PSDif you want editable files) ticked, andQuality 95 (recommended). ClickGenerate N sheets, thenDownload all.
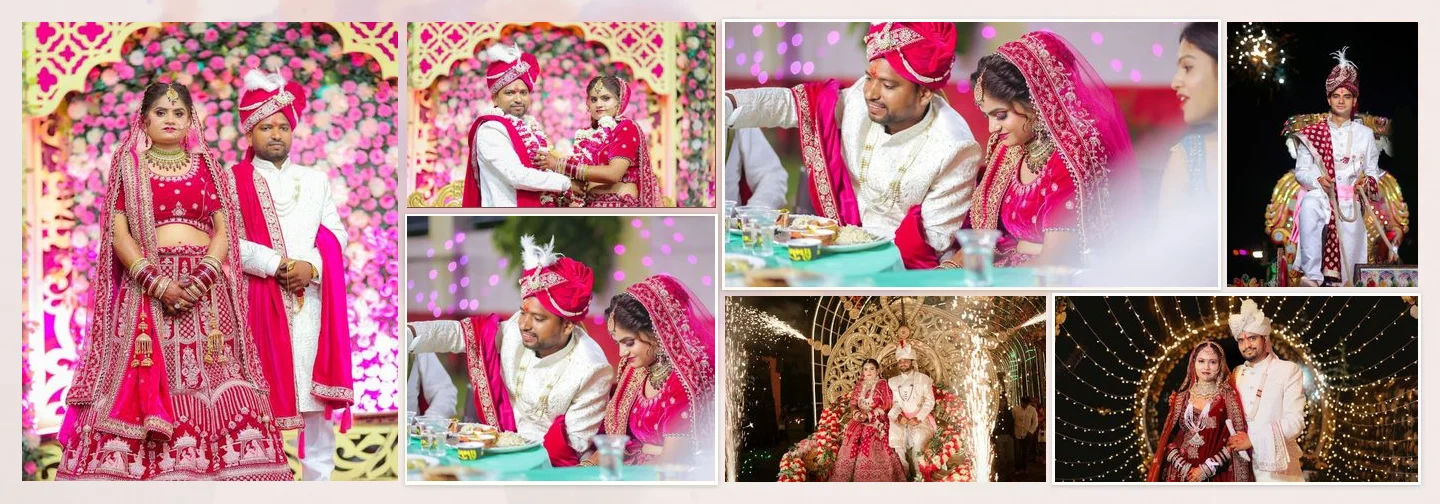
Designing for the taller spread
- Give portraits their height. A full-height portrait on a 14 in page is a strong opening; use the extra height rather than adding more small frames.
- Dense spreads breathe better. The 9- and 10-photo templates are more comfortable at 14 × 40 than at 12 × 36.
- Typography has room. Titles and captions can sit above or below photos without crowding them; keep them inside the safe area.
- Mind the fold the same way. The fold-safe zone is 0.125 in on each side at any size; see keeping faces off the centre fold.
Tips
- If a client is undecided between sizes, generate one sheet at each size from the same template and show both.
- Use
Exactly N — all on one sheetfor event spreads where you have promised a specific number of photos. - Check dark spreads on a calibrated screen; large dark areas show banding and shadow noise more at 14 × 40.
Common Mistakes
Enlarging a finished 12 × 36 album to 14 × 40
The ratio changes, so the design would crop or distort. Start a new album at 14 × 40; templates are laid out again for the new ratio.
Using web-sized exports as source photos
A 2,048 px photo cannot fill a 14 in page at 200 ppi (it needs 2,800 px). Use originals from the booking gallery.
Filling every spread with ten photos
The extra space is best used for larger photos. Vary the density: see how many photos per spread.
Frequently Asked Questions
What is the pixel size of a 14 × 40 album?
12,000 × 4,200 px per spread at 300 DPI; each page is 6,000 × 4,200 px.
Can I use the same templates as for 12 × 36?
Yes. All 400+ library templates support 12 × 36 in, 14 × 40 in and custom sizes, and are laid out for each one.
Is 14 × 40 always better than 12 × 36?
Not always. It is bigger and heavier and needs more resolution. Compare the two in 12 × 36 vs 14 × 40.
Does a larger size take longer to export?
Yes, a little: there are about 30 % more pixels to render per sheet at the same DPI.
Related Guides
- How to Design a 12 × 36 Wedding AlbumSet up a 12x36 wedding album at the right DPI, pick templates that suit the 3:1 spread, keep faces off the fold and export 10,800 × 3,600 px sheets.
- How to Prepare a Wedding Album for PrintA print checklist for Smart Photo Selection: resolution and DPI, low-ppi warnings, centre fold, trim and safe area guides, bleed, sRGB colour and what to ask your album lab.
- How to Export a Wedding Album as JPG, PNG or Layered PSDExport one album sheet or the whole album from Smart Photo Selection as full-resolution JPG, PNG or a verified layered PSD, and download everything as a ZIP for your lab.
- How to Arrange 7 Photos on a Wedding Album SpreadThree ways to split seven photos across a spread (3 + 4, 4 + 3 and 5 + 2), when to use each, and how to pick or generate a 7-photo layout in Smart Photo Selection.
Related Features
Further Reading
- 12 × 36 vs 14 × 40 Wedding Album: Which Size Should You Offer?12x36 vs 14x40 wedding albums compared: page size, ratio, pixels at 300 DPI, photo resolution needed and which layouts and clients each size suits best.
- How Many Photos per Wedding Album Spread?Choosing how many photos to put on each wedding album spread: density, pacing, hero images, page splits like 3 + 4, and when fewer photos tell more.
- Bleed, Safe Area and the Centre Fold in Wedding AlbumsWhat bleed, trim, safe area and the centre fold mean for wedding album spreads, how binding affects the gutter, and how to keep faces and text safe.
Try It in Smart Photo Selection
Open Album Studio with a photographer account, pick a booking and follow the steps above on your own photos.